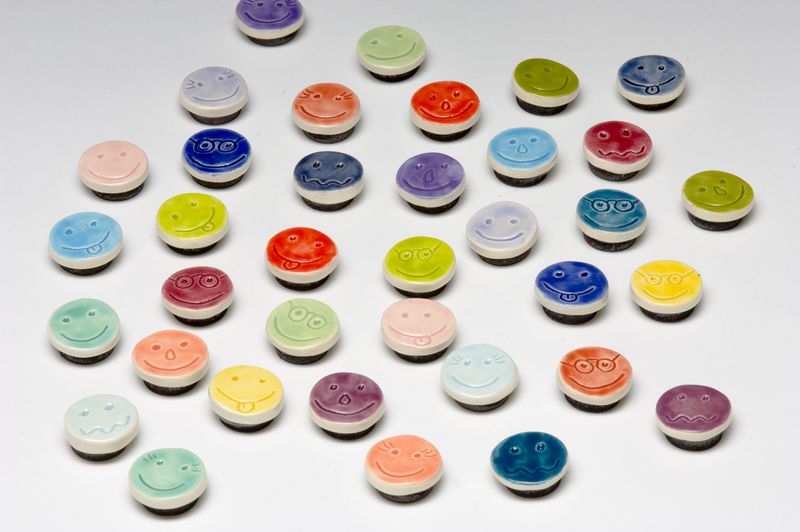
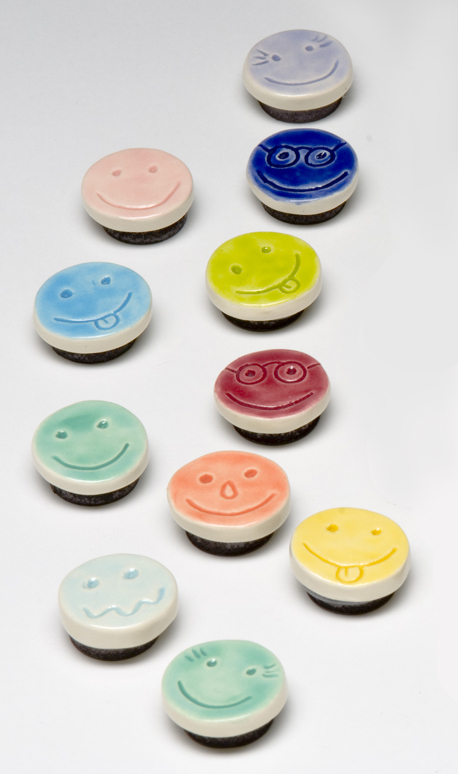
Last weekend while we were in Portsmouth visiting Three Graces Gallery Roxanne and Stella were drawn to a set of little ceramic face magnets Kim had on display. They were made by Erin Moran, a local artist, and the girls couldn't stop picking them up and choosing their favorites.
In the car on the way home we thought maybe we could make our own face magnets, inspired by Erin's.
I bought two squares of Sculpey III to use for this project. Sculpey isn't the toughest of the polymer clays, but it is the easiest to manipulate and I figured it would be sturdy enough for a set of small magnets.
Once I opened the clay it didn't take too much kneading to condition it
and warm it up enough for small hands to manipulate easily.
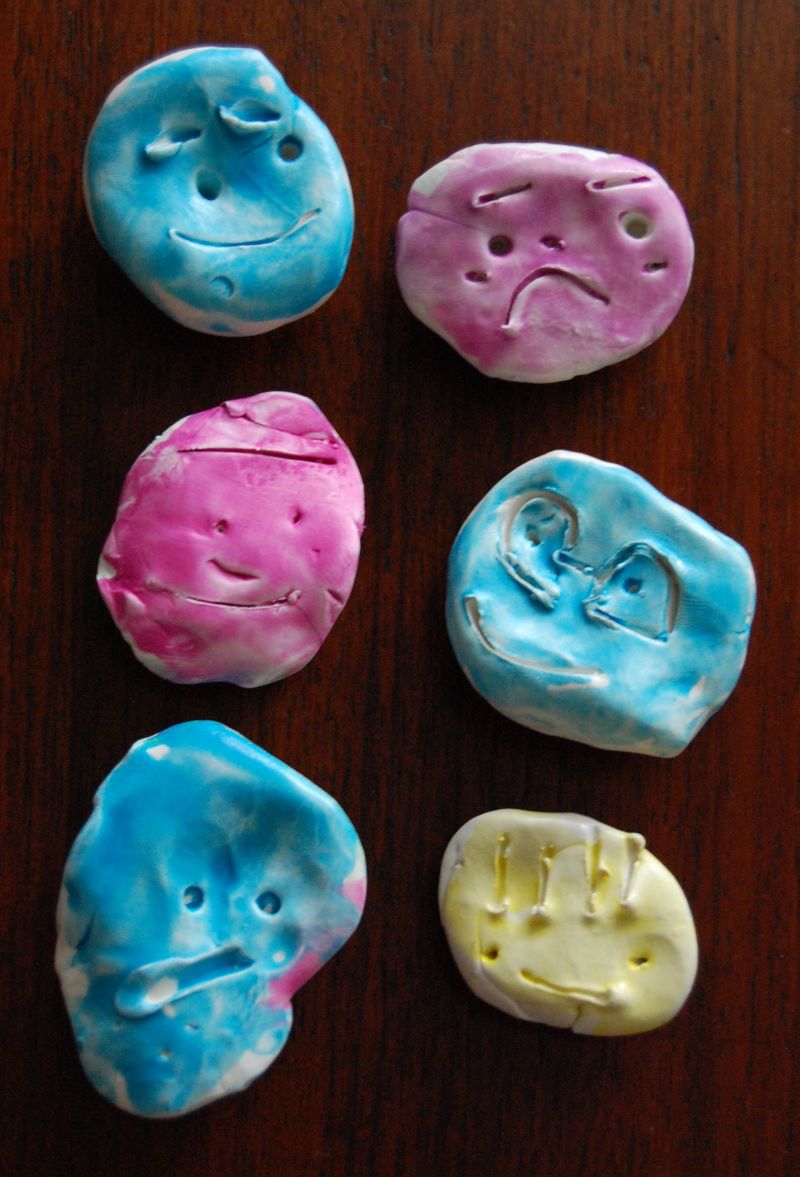
We rolled small balls of clay and then flattened them. I gave each girl a wooden skewer to carve the features. Even Stella, who has just learned to draw recognizable people, was able to succeed at drawing a simple face on the clay.
We baked them following the package instructions. Once they cooled, I watered down some Crayola washable paints and the girls glazed each face in Erin's style. I like this kind of painting because there is no way to "mess up." The whole face is one color keeping the frustration level of little painters in check.
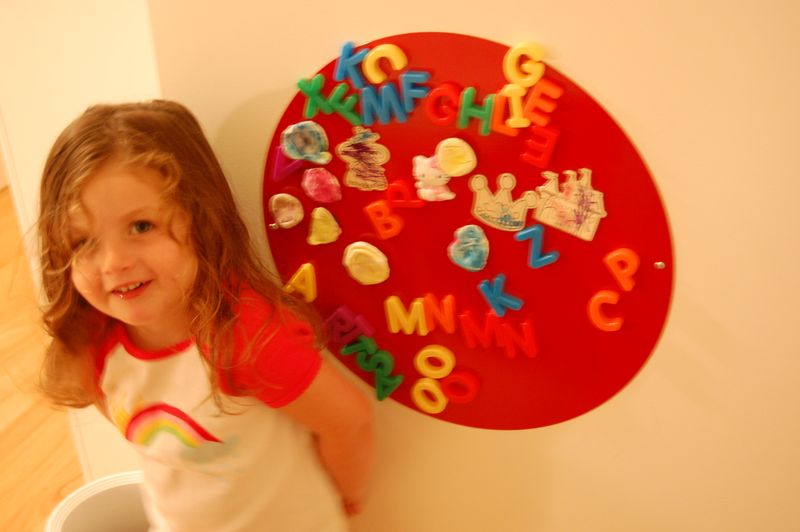
Once the paint dryed we sealed the faces with a coat of Mod Podge and then affixed round magnets from the craft store with some E6000. I think it is important to use a strong glue so that the magnets stay affixed to the faces. And here they are. Roxanne wanted to recreate the one she liked the best that Erin had made – the one with glasses.
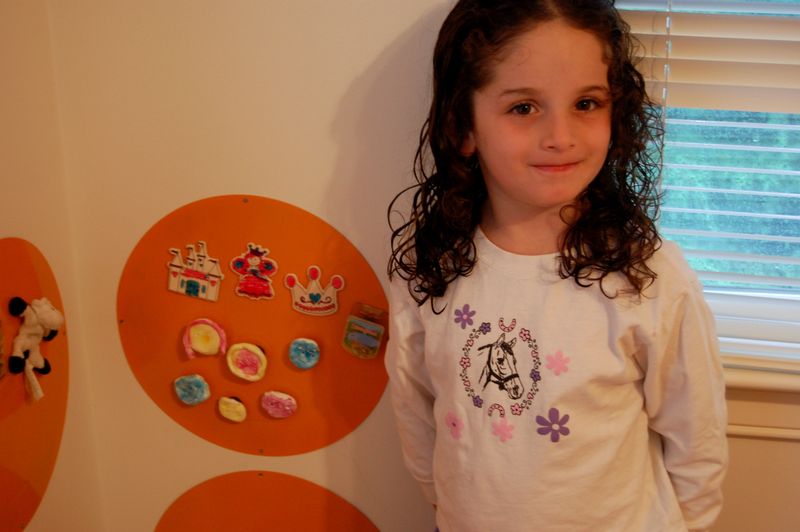
The girls each have round magnet boards in their rooms where they can play with alphabet magnets and show off their collection of other interesting magnets (our fridge is not magnetic). These went right on and they were so proud.
We were so excited to see how visiting a gallery and seeing an artist's work in person can inspire us to create our own artwork!
Happy Birthday. I hope you have a good day.
The magnets are great; I’m going to suggest them to a friend to make with her kids.
These are so cute! It would be fun to use them to make one of those “I feel _____ today” displays. 😉
I love the ones the girls made! Much better and more original!
Hi Abby,
I just got back from vacation and I am catching up on some blogs. 🙂
Love the magnets with the faces. They are so cute. Happy that the girls made some too. 🙂
Hugs
Those little smiley faces (and not so smiley faces) are really cute. I love the idea of the magic boards in the girl’s rooms by the way. I think our little ones would love that as well! I can really imagine all kinds of things with the combination of those boards and the little faces, fun!
These are so sweet and I bet they’ve become really special now that the girls have gotten older 🙂 I’ll be featuring this idea as a Mother’s Day gift on The Crafty Crow soon!
Thanks so much, Cassi! We still have these magnets all these years later.