Editor's Note: This series of posts became a book!
Stuffed Animals: From Concept to Construction was published by Lark Crafts in 2013.
+++++
Drafting an original softie pattern is a huge topic and we will break it down into many subtopics over the coming weeks. To get started, let's talk about the materials we use to draw and cut out the actual pattern pieces.
Patterns can be drawn on many kinds of surfaces. Commercial patterns are printed on tissue paper, but to me that is not the most practical surface for a pattern. It tends to tear and get all crumpled.
For many years I drew my patterns on either newsprint or tracing paper. I have also drawn patterns on cardstock, cardboard and plastic. Although all of these surfaces work fairly well for softie patterns, nothing works better than freezer paper.
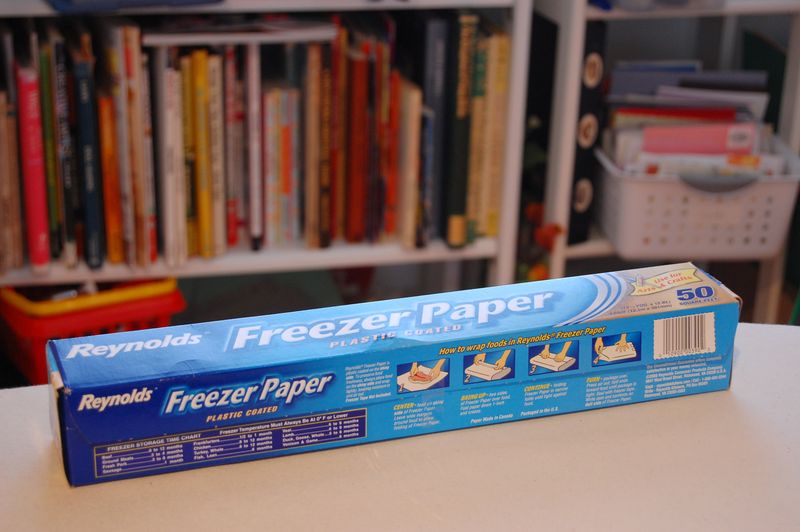
Once I discovered freezer paper and began to see its benefits, I never looked back (thank you to my good friend, Mimi, for introducing me to freezer paper, among many other awesome things, over the years!) . If you are not using it now, I highly recommend getting a roll and giving it a try.
If you are unfamiliar with freezer paper here is how it works. One side of the paper has a matte finish similar to regular white printer paper. This is the side you draw on. The other side is glossy. A warm iron will temporarily adhere this side of the freezer paper to fabric. You can then either cut around a pattern piece, or sew around it, before pulling the paper off the fabric. Freezer paper does not leave any residue or harm the fabric in any way. And it can be reused about a dozen times before it looses its stick. Once it does, simply redraw that pattern piece on fresh freezer paper.
The fact that the paper temporarily adheres to the fabric is the magic here. If you draw a pattern on tracing paper and use pins to hold it in place, the paper tends to shift around while you are cutting and sewing, and the pins get in your way.
Freezer paper eliminates the need to draw around a pattern piece with a marker which can be fussy to do, leaves marks on the fabric that you either have to cut away or erase, and takes up time.
Freezer paper eliminates both of these problems, thereby increasing your accuracy in cutting and sewing and decreasing your frustration. Hooray!
Freezer paper is fairly cheap and easy to find. I buy Reynold's freezer paper at the grocery store. It costs about $4 for a 75 square foot roll which lasts me several months. Becasue it is not expensive, I don't feel too bad if I end up drafting a pattern on a sheet of freezer paper only to figure out later that the pattern has major flaws and needs to be redrawn.
And, if you cut a sheet of freezer paper down to the 8 1/2" x 11", you can run it through your printer. This is great for patterns that you download from the web or copy from a book.
Since we are focusing here on drafting original sofite patterns, let's go through the process.
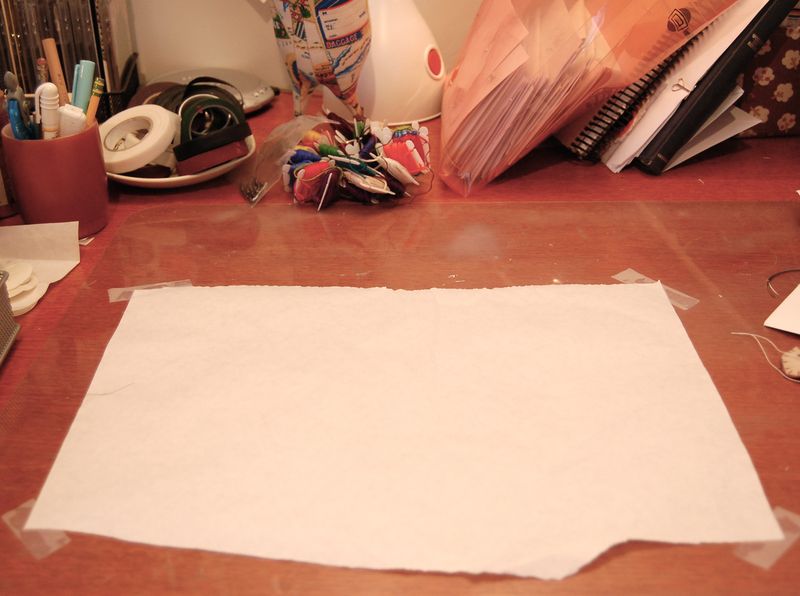
To get started, I tear off a fresh sheet of freezer paper and lay it matte side up on my desk. If I'm ambitous, I may even tape down the corners.
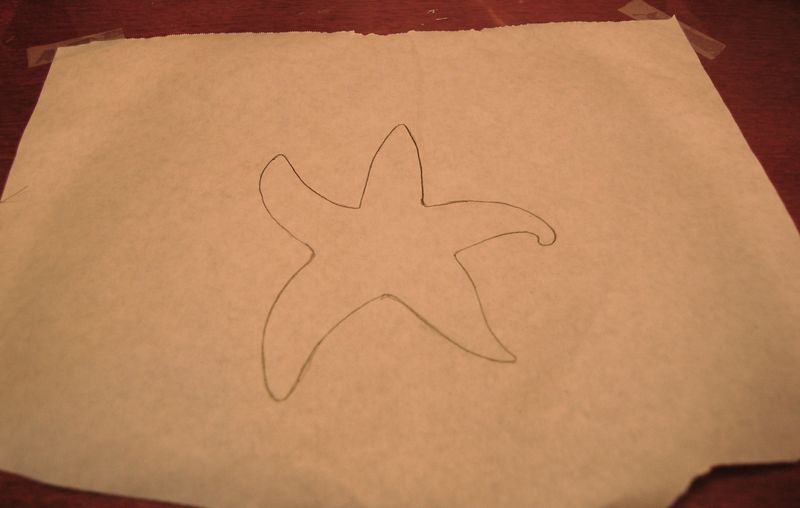
Then I draw out the pattern (more on how to draw your own patterns later – I promise!).

I cut out each pattern piece and label it.
Here is what I write on each piece: the name of the animal, the name of the pattern piece, how many to cut out and if any pieces need to be reversed, any information about what kind of fabric I should use, and any markings like darts, openings or slits that I may need.

Next, I take a pattern piece to the ironing table and iron it to the fabric. I generally set the iron's heat according to the type of fabric I'm using.
As you can see, I cut the fabric a bit larger than the pattern piece. I don't mind the waste because generally the pattern pieces are so small that the amount of fabric I'm using is really only a scrap.
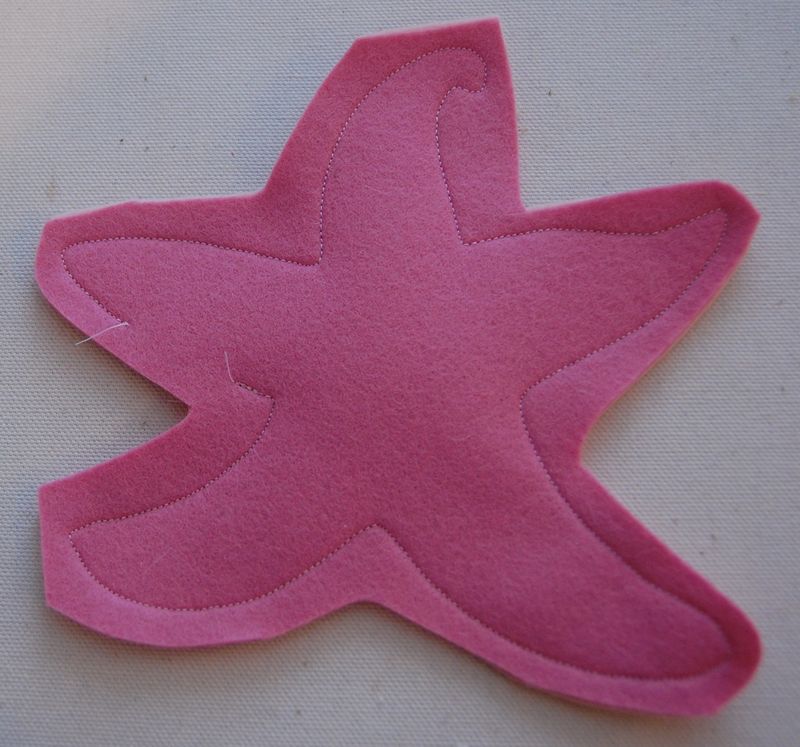
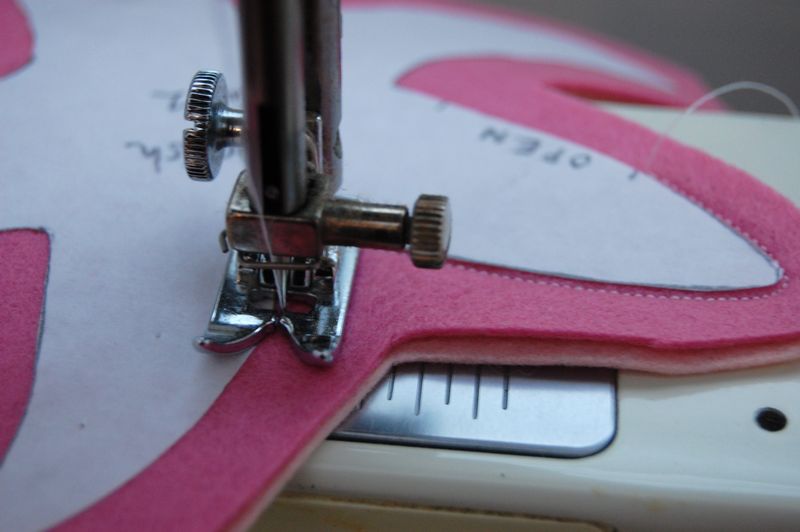
The two great uses of freezer paper now come into play. First, you can sew directly around it. This is great if you are sewing a very detailed shape that needs to be outlined exactly as is the case here with the starfish. Softies are generally made up of many small pieces and when you are sewing this small, every little curve counts. Freezer paper will really help to improve your accuracy when sewing detailed shapes.
Here is how it looks when you are sewing with the paper still adhered:
After you have sewn around the pattern piece, pull it off, cut it out an 1/8" or so outside the stitching and you are on your way! (Although patterns for garments generally have a 1/2" or 1/4" seam allowance, softies usually have the narrowest seam allowance possible because the extra fabric is too bulky for such small projects. I prefer an 1/8").
Here is how it looks after I've pulled off the freezer paper, but before I've trimmed the seam allowance. See how exact the outline is?
The second way I use freezer paper is for accurate cutting. There are parts of every pattern that would be really awkward to sew with the freezer paper still attached. For these parts I still iron the freezer paper to the fabric, but then I cut around it. I don't tend to include a seam allowance on my patterns. I just cut 1/8" from the edges of the freezer paper all the way around. Then I pull off the freezer paper, pin the pattern pieces and sew, sew, sew!
When I am finished with a particular pattern I save it in a labeled envelope. One of my goals for this year is to develop a better filing system for all my patterns. I'm getting the feeling that shoving a few dozen pattern envelopes into a two magazine files is probably not the most effective organizational system!
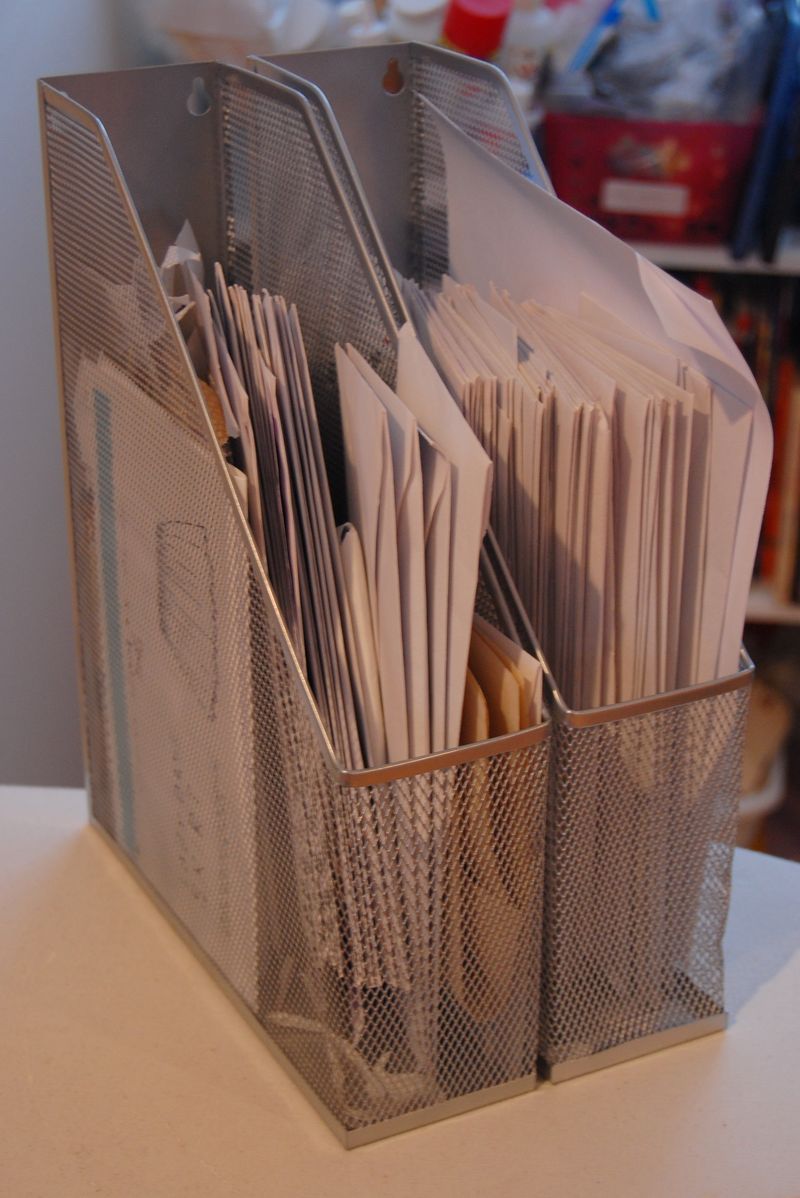
I know people who put each pattern in a sheet protector and then file them in binders. That seems like a good option. If you have another good method for organizing patterns, please share!
And, of course, if you use freezer paper for pattern drafting, or another sort of paper, and have information to add, we want to hear from you! Please leave a comment so that we can continue the discussion. I've learned so much already from all of your awesome comments!

Except we can’t get freezer paper in Australia 🙁 It makes me very sad.
Oh, that is sad! I hope it becomes available soon!
I definitely need a better filing system. Right now I have them tucked in my embroidery floss box … but then I have only made about a dozen patterns.
Great post. I need some freezer paper!
I usually do something similar to this with scrap paper and a glue stick. If you rub the glue stick on the paper, and not the fabric, then the paper sticks temporarily to the fabric but does not really leave any residue. (Maybe trace amounts? I always attach it to the underside of the fabric so it doesn’t matter anyway)
That way is nice because you can easily flip the paper over to cut out a reverse of the pattern (on the underside of the fabric), and it is a little more durable than the freezer paper. I don’t think it sticks quite as firmly as the freezer paper though, but it is always on hand!
Some glue sticks are very gummy, or will leave clumps on the paper, or get all over your hands. It is worth it to try a few brands to find a kind you like.
thanks for the tips!
for storing patterns-i do what you mentioned-in sheet protectors and then into the binder 🙂
That is especially good news for people who live in Australia where, for some reason, freezer paper is not available. A simple glue stick could be a good alternative.
oh I so love this whole topic with lessons. I look forward to them.
you are ahead of me on the pattern storage. Presently, I have some in an accordion style file folder with pockets for each book, some pinned together in under my table top ironing board and bits an pieces over the book shelf. Yep, you are ahead of me.
thanks for sharing. I’m learning a lot.
Glad I’m not the only one with a poor system for filing and storing all my patterns. Now I just need to motivate and get them organized.
I’ve been using freezer for patterns for years but always pinned it to the fabric….I love the idea of ironing it and avoiding the pins.
Thanks so much for the tip! I can’t wait to see your next topic!
This is a bit expensive to start up but it might work for you.
Buy a file folder with letter dividers.
Buy envelopes or large ziplock bags to hold your patterns – you can get an A4 Ziplock bag in Australia that I use for all my patterns. Place a piece of cardboard in the bag with a photo of the finished project and the name written along the edge that will be seen in the folder. Then put anything relevant to the pattern in the bag and file it under the appropriate letter or animal.
Love the tutorial. I have just heard about freezer paper and I am looking for some now.
Quilters put freezer paper to work for the same reasons.
I bought some freezer paper a while back, but have not used it yet. Thanks for the reminder to give it a try.
I trace my patterns onto fabric with a pencil. I do this because all of the animals I make are on 3 dimensions, rather than the 2 dimensions that your starfish example shows. How would you keep that freezer paper on the fabric when you are sewing underbellies, head gussets, and the like to the main shape? I do some sewing independently on BOTH sides, so need those pencil mark guides to keep things accurate. Am I missing something?
You are totally right that you cannot sew underbodies and gussets with freezer paper still attached. In those instances, I adhere the freezer paper with the iron, then cut 1/8″ around it with small scissors. I pull of the paper and then start sewing. I find the paper helpful because it serves as a quick, accurate cutting guide. There is certainly no reason why pencil lines would not do the same thing, though!
Definitely try ironing it! Let me know how it goes.
That seems like a great system. I also like the binder idea. Either way, having a photo of the finished animal and filing them all alphabetically would work really well for me.
I like to keep my patterns in a clear plastic sleeve with a picture of the final product and a card to identify the pattern on top. All of the sleeves are stored in a big three ring binder. And I discovered freezer paper after listening to your podcast on Craft Sanity and have loved it ever since!
great tip, thanks!
You can get freezer paper in Australia – my Mum got some from a quilting shop, but I’m not sure which one.
Of course, it’s nowhere near as cheap as it is in the US – I think she paid about $15 for the roll.
This series is great! Thanks.
Can’t get freezer paper in Europe either, guess it must be an American thing. Looks like it works great though.
I usually use a light box to draw my patterns on normal printer paper then cut it out and pin it onto the fabric. Works ok, not the best.
I’ve only read three of these so far but WOW- I’ve learned soooo much! I’m so greatful to you for this series!
Couple of ideas for those having a hard time finding freezer paper: What kind of paper do your butcher shops use? Apparently, our freezer paper is actually a type of butcher paper with a very thin wax or poly coating. This type of paper holds it’s strength even if it gets wet. If your local butcher’s paper has a coating, chances are it’ll work for patterns as well.
Another option is to make your own. Here’s an instructible on it. http://www.instructables.com/id/Make-your-own-freezer-paper./ One tip: plastic dry cleaner bags work well for fusing to paper.
PS sorry bout the cross post. Realized I’d posted it to the wrong blog entry. Doh!
This was such a useful post! Thank you! I had never heard of this technique until now. I’ve only been sewing for about a year and I’m picking up all the tips I can. I stick mostly to dolls, but I’ve recently branched out to embroidery… I can’t wait to read more of your blog – it is so informative! 🙂
I’ve used freezer paper for 30 years in one of the techniques I use in applique. I couldn’t live without it. LOL
How fantastic! I took pattern making class for fashion sewing where I started tracing my pattern pieces on ultra thick card stock board which I would then trace around onto fabric with a pen. I label each piece for the design and insert grommets and then clasp them all together and hang a hook on the wall. This was more efficient for larger pattern pieces to big to fit into binders or bins. Now that I am making plush instead of clothing, I have too many small pieces! its nice to know how everyone else organizes everything. Smaller pieces I zip lock in bags, label each bag, place in folders and file them in a box. I forgot about freezer paper!!! How silly of me!! Thanks for the tips!
Sure, Stephanie, and ziplock bags are a great idea for storing all those little freezer paper pattern pieces. I'm using envelopes right now, but bags would be much better!
Doubt you’ll still be responding to this, but: what kind of printer do you use? You said you can run freezer paper through your printer, but is that ink jet or laser?
I have a laser printer, but I think this would work on both types. It can be tricky to get the freezer paper to run through the printer, but it does work. Cut it down to standard printer paper size, then roll it in the opposite direction of the way it was on the roll so that it flattens out. Give it try and let me know how it goes!
I never thought to use freezer paper as a sewing guide! Great tip, thank you! I use it all the time for cutting small felt pieces. It’s such a handy tool. I will have to try running it through the printer too. I printed some patterns for Easter finger puppets and I was wondering if that would have worked. I will definitely try it next time.
I just found your blog and I love it! Thank you for sharing!
Alicia
You’re welcome, Alicia! I hope you find the freezer paper to be a handy tool. I use it every day!