Editor's Note: This series of posts became a book!
Stuffed Animals: From Concept to Construction was published by Lark Crafts in 2013.
+++++
When I have an idea for a new soft toy, going from a sketch to a set of pattern pieces can be a daunting task. How do I make those shapes in three-dimensions? Where do I begin?
Having comfort and familiarity with an assortment of different pattern building blocks makes this task much easier. I can select from among them to achieve the shape I have in mind.
I am going to do posts on each of these building blocks to help build familiarity with them. That way they will all be out there for us to draw from when we are doing our own design work.
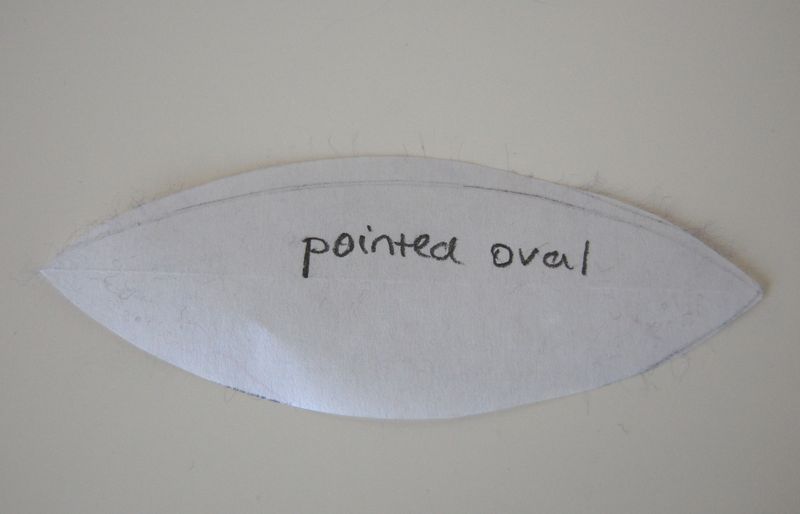
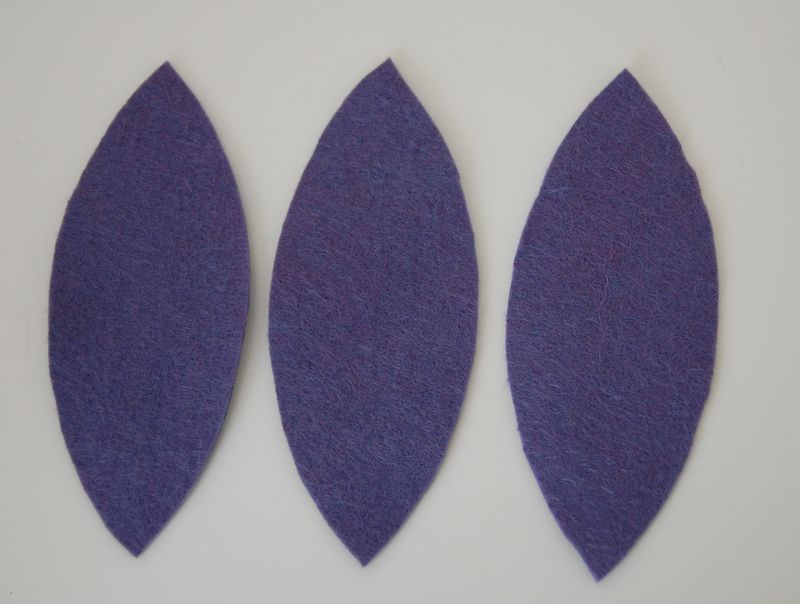
One really useful building block is the pointed oval pattern piece. Think of it like a segment of an orange.
A pointed oval looks like this:
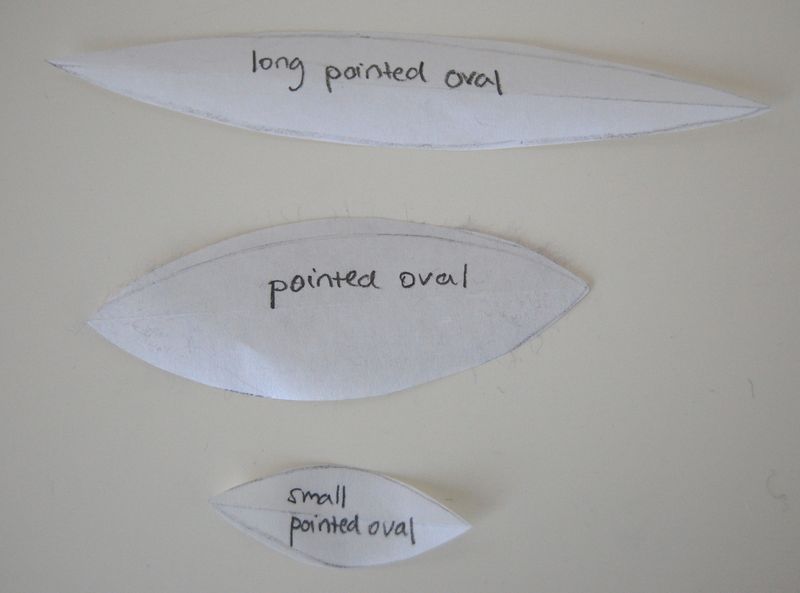
It can be elongated or shortened:
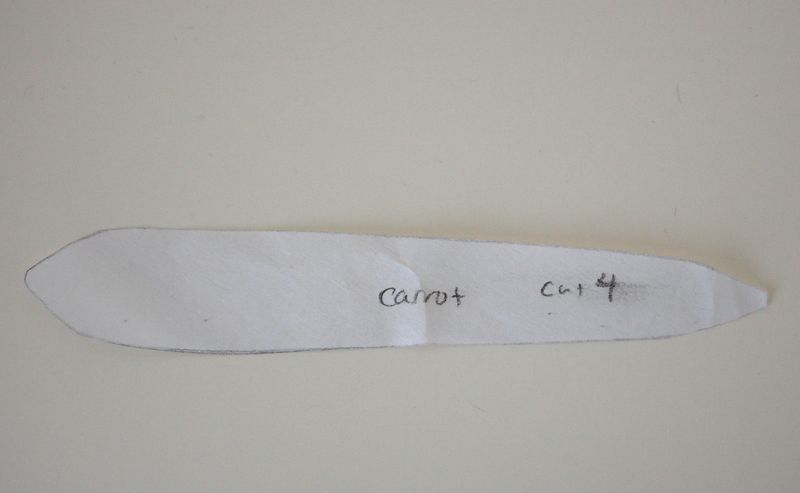
It can also be widened on one end:
What can you do with a pointed oval?
If you sew three pointed ovals together,
If you sew four pointed ovals together,
your football becomes more round.

Sew together four elongated pointed ovals that have been widened on one end and you'll get a carrot or a chili pepper.

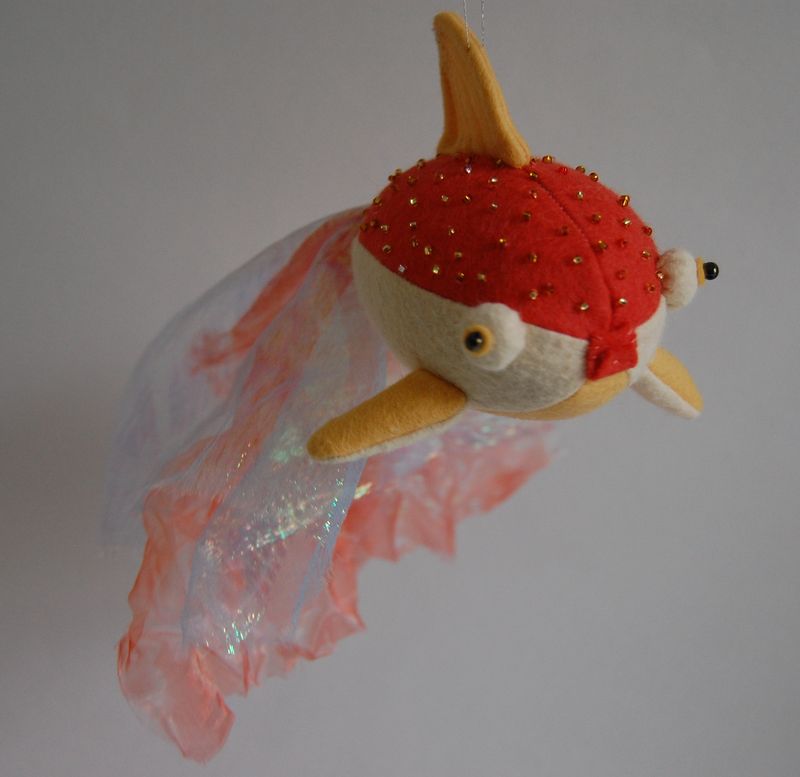
Sew five regular pointed ovals and you can make the round body of a goldfish. If you'd like to try this with a pattern, my free goldfish pattern over there on the left uses this technique.
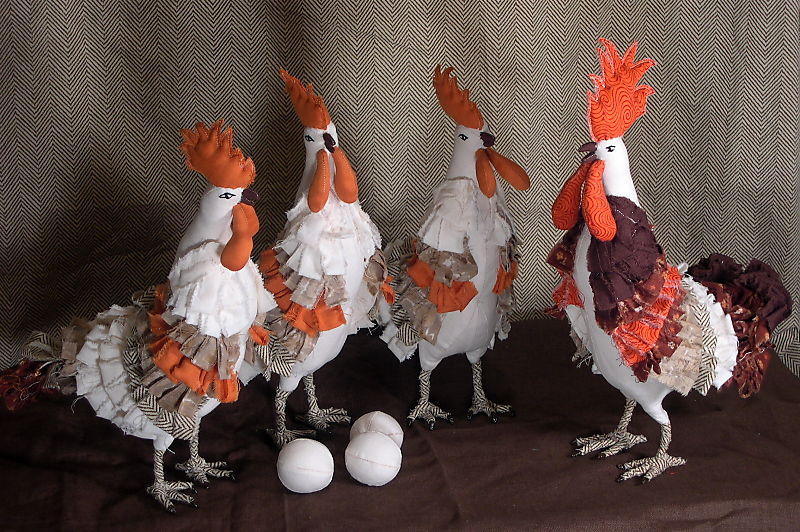
Shrink them down tiny and you can sew a soft egg for a soft sculpture hen:
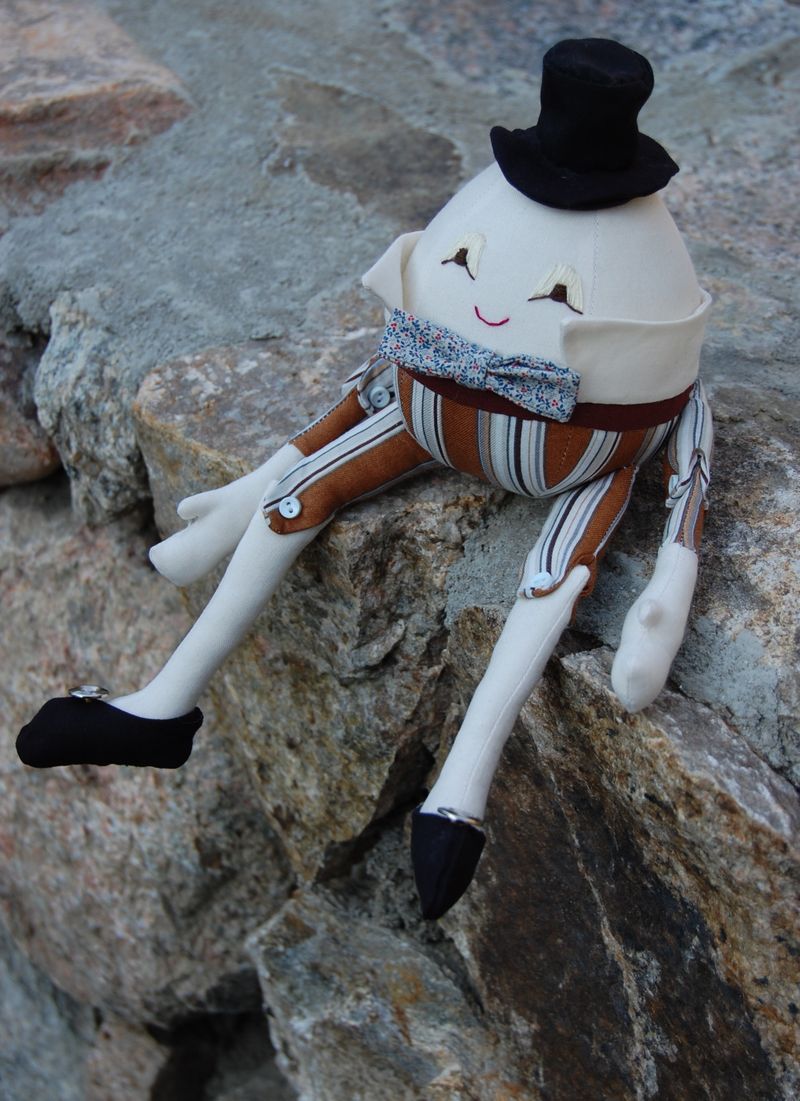
Or make the egg larger and sew up Humpty Dumpty:
Think about what toy you could design based on one of these shapes, or what part of a toy. You could make a turnip, the body of a squid, a jack-o-lantern…I'm getting excited now!
Keep in mind that the finished shape will have seams running down the sides at regular intervals. These seams are opportunities. Every time you sew a segment together you have the opportunity to easiy and inobstrusively insert something – a fin, spikes, arms.
The ends of your fininished shape may not be perfect because all the points are coming together on the ends. If your ends are a bit wonky, you may want to cover them up with a carrot top or fish lips.
Have you designed a pattern that uses pointed ovals? What did you make? Maybe give us a link so we can see it and get inspired. Do you have a good method for sewing the ends, where all those points meet up, more neatly? Any other good tips to add? Please share in the comments! You guys are awesome.


Hi. I just found your blog from One Pretty Thing posting daily finds and I’m so excited. Artful Birds is on my wish list and I’ve really been in the mood to design some of my own playful creatures. Perfect timing to find you and your informational series. You do amazing work and I’m very inspired by you! Thanks!
This is brilliant, comprehensive, and illuminating. I almost can’t believe the generosity of sharing it. Also, great break from obsessively watching Al-Jazeera English.
I want a Humpty Dumpty for Erika!
I’ve made balls this way. Also, the center form of my pine cones is constructed this way. Here is a link to a photo of a pinecone:
http://www.etsy.com/listing/62910282/pine-cone
I love all of your examples here!
HI, I just bought your book, the artful bird, it is wonderful. I just love your blog and find it sooooo helpful. I wish I lived in your area, so I could have a class! thank-you, Debby
i’m LOVING THIS!!!!!! I feel creatively nourished! Thanks lovely 🙂
thea.
xx
(spoonful)
Another great post in this series, thank you so much!
I made eggs from vintage fabrics last Easter using this method, and I’ve also made apples and pears from felted sweater scraps. The eggs were made from four ovals, and the fruit from six.
http://epla.no/handlaget/produkter/24564/
http://epla.no/handlaget/produkter/16608/
For an egg I first sew two and two ovals together along one side, making two half-eggs if you know what I mean. Then I pin these right sides together so that one half kind of folds into the other. Then you can easily sew all the way round, across both tips, leaving a small opening in the side for turning. This makes the top and bottom where all the tips meet up relatively neat. For a piece with six ovals, do the same only use there ovals to make the semicircles.
your series is really so well written and thoughtful. I used the pointed ovals to make my onion domes.http://resurrectionfern.typepad.com/resurrection_fern/2008/11/my-christmas-themes-have-been-chosen.html
xo
Elisa- This is a great method! If you just sew all the way around, from the start to the end of the opening, you avoid having all the seams starting or ending at the points of the oval. Perfect! Thank you so much!
Thank you so much for this great series! I wish I had had all of your advice when I first tried to make some soft toys…
I made of lot of felt veggies and fruits using pointed ovals and I found that the ends tended to look neater if I remembered to stop sewing a few mm before the end of each point. Then when I closed the shape and turned it inside out, I sometimes needed to take a few tiny stitches with a matching thread to close the end, but everything looked very neat and tidy.
http://www.flickr.com/photos/gabby-girl/5235382234/in/set-72157625534986634/
PS: would you like to enter my giveaway? I would love for you to come and take a look! http://tinyapartmentcrafts.blogspot.com/
another wonderful post! I’ve used the ovals to make pumpkins for Halloween fairies… http://thefairiesnest.blogspot.com/2008/10/happy-all-hallows.html
but I’m definitely going to make some carrots for bunnies next!
Hi,
I just wanted to say thanks so much for these tutorials! I used a pointed oval gusset for a bird head and it worked out SO well. Thank you! I also linked you on my blog, I hope you don’t mind! http://sewknitpicky.blogspot.com/2012/01/meet-henry.html
laurel
hey,
Just wanted to say thanks for all these entries. I taught myself how to sew so some things I just kinda figured out myself but reading your stuff has given me some ideas on how to improve. Really glad to see something on spherical shapes. One of the projects I have slated for the near(sort of) future has a rounded spherical helmet and the patterns that I designed for my other guys would not work at all. Here’s what he’s supposed to look like http://wikicheats.gametrailers.com/images/0/02/Reach_emile.jpg
Looking up that image made me think…would just a gusset be better? Oh btw thanks for teaching me what a gusset was lol. And in case you’re wondering…yes I’m a guy lol.
thanks again
You are an amazing teacher. Thank you, from an absolute beginner. You are helping us all love toys a little bit more. And everyone needs more handmade in their life!