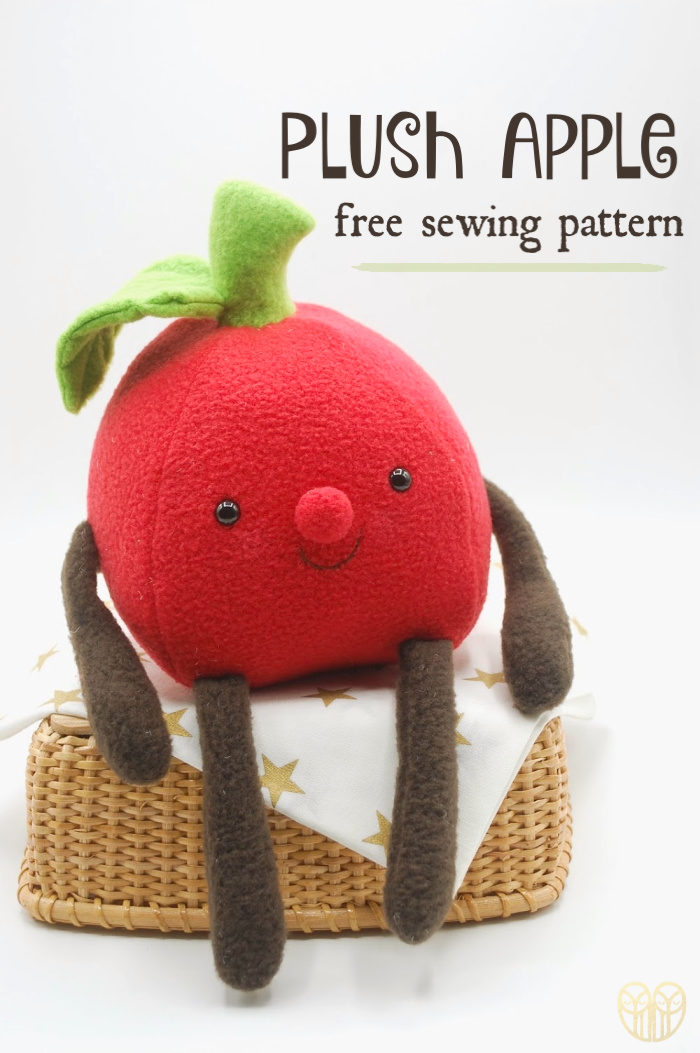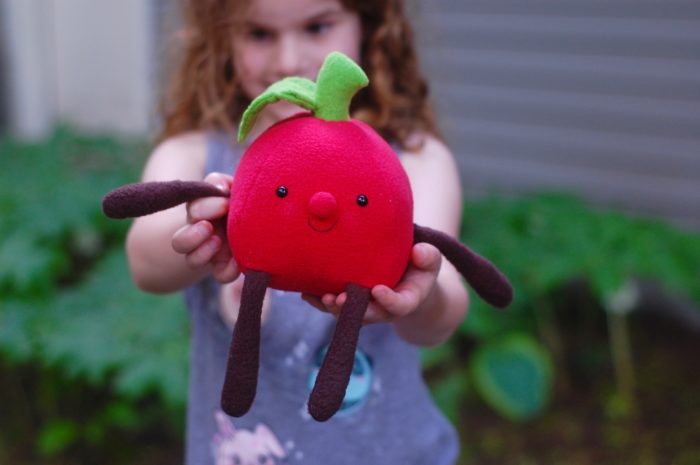
Today I have a free pattern to share for this cute plush apple. I made mine a Red Delicious, but you could definitely sew this pattern up in light green fleece to make a Granny Smith. This is an easy pattern to sew up in just about an hour.
I used a pair of 8mm plastic safety eyes for the eyes, but if you’d like to make this apple for a young child I recommend stitching the eyes with satin stitch instead just to avoid the possibility of a choking hazard. You could definitely add a rattle insert to make this toy a bit more interactive, too. And if you want your apple to be a bit weighted fill the toe of a pair of pantyhose with poly-pellets, then tie off the end and insert this bag into the apple as you stuff it. This way it will always sit up.
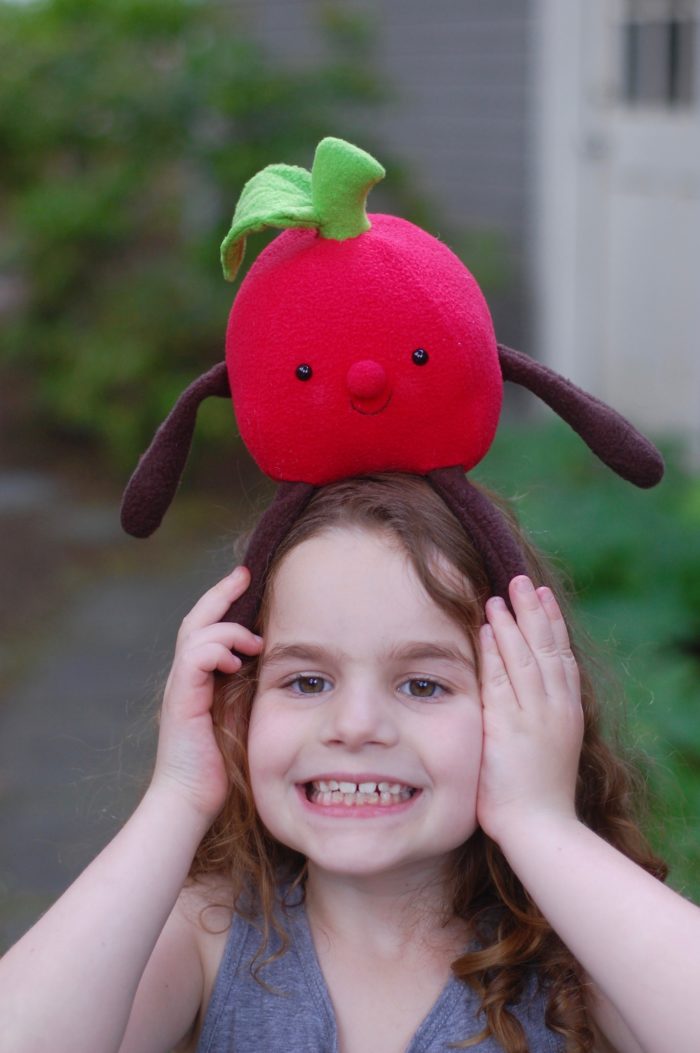
These apples are fun gifts for babies and toddlers, but I also think they would be fun teacher gifts! And you know what they say…a plush a day keeps the doctor away.
To make one apple you’ll need:
- 1/4 yard of red fleece (you’ll have plenty left over to make another!)
- scraps of green fleece for the stem and leaf
- scraps of dark brown fleece for the limbs
- a pair of 8mm black safety eyes with washers
- 24 inches of black size 8 Perle cotton for the mouth
- coordinating thread
- fiberfill stuffing
Download the pattern template and print it out. Cut out the pattern pieces. (When you place the pattern pieces on the fabric be sure to line up the arrows with the selvage so that you can be sure the stretch is going the correct way).
From red fleece cut four apple pieces and one nose. Cut leg slits in one of the apple pieces and cut arm slits in two of the apple pieces. From green fleece cut two stem pieces and two leaf pieces. From brown fleece cut eight limb pieces. Transfer all markings to the fabric using a disappearing fabric marker or chalk.

Pair up two limb pieces and sew around leaving the straight edge a the top open. Repeat for the other three pairs. Trim the seam allowances down to 1/8″ and clip the curves. Turn the limbs right side.

Lightly stuff the tips of each limb, leaving the upper portion nearest the opening unstuffed. Set aside.

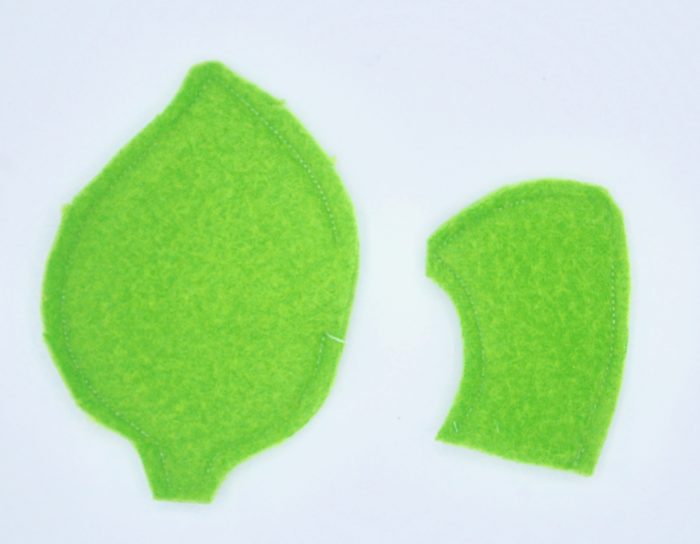
Place the two leaf pieces right sides together. Stitch around, leaving the opening as marked. Trim the seam allowance to 1/8″ and clip the curves. Turn the leaf right side out. Tuck in the opening and ladder stitch it closed. (Here’s my tutorial showing how to ladder stitch.) Top stitch the veins.

Place the two stem pieces right sides together. Stitch around, leaving the straight edge open as marked. Trim the seam allowance to 1/8″ and clip the curves. Turn the stem right side out. Fold the raw edges along the opening under by 1/8″ and baste to hold. Stuff the stem firmly. Set aside.


Mark two dots where you want the eyes to be on the apple piece with the leg slits. Use an awl or the tip of a pair of small scissors to pierce the two holes for the eyes. Insert the safety eyes from the front to the back of the apple piece. Attach the washers. (Here’s my tutorial on how to insert safety eyes.)
Slide two of the limbs through the leg slits, from the front to the back, so that the raw edges of the limb are aligned with the raw edges of the slit. Fold the apple piece down over the limb. Stitch the slits closed, stitching over the limbs as you go.
Use the same method to attach the arms to the apple pieces with the arm slits.


Sew one of the apple pieces that has an arm to the apple piece that has the eyes, sewing from point A to point B. Now sew the other apple piece with the arm to the other side of the apple piece with the eyes, sewing from point A to point B.

Finally, sew the last apple piece in place, sewing from points A and B, leaving a 2 inch opening on one seam for turning and stuffing. (It’s okay if the points don’t line up perfectly at the top of the apple. They will be covered by the stem!)
Clip the curves. Turn the apple right side out through the opening. Stuff the apple firmly. Close the opening with ladder stitch.

Take a running stitch along the edge of the nose. Begin to pull the stitches to gather the circle. Add a tiny ball of stuffing to the center before pulling the stitches tight. Tie the thread in a double knot to secure. Pin the nose to the face, then ladder stitch it in place, going around twice for an extra secure attachment. Tie the thread off with a double knot.

Thread an embroidery needle with a 24-inch length of black Perle cotton. Use outline stitch to stitch the smile on the apple.

Pin the stem to the top of the apple. Ladder stitch it in place, going around twice for an extra secure attachment. Pin the leaf to one side of the stem and tack the bottom portion of the leaf to the stem, stitching it securely in place. (If you’d like you can add a little pink blush to the cheeks of your apple just for some extra color. I used makeup blush, but you could also try fabric marker.)

Give your apple a hug! So cute.

Thank you for this free pattern. It is so cute. I make many items for foster children, and this will be one of the items I will be making.
That’s wonderful, Ruth!
Thank you for the pattern, my grandbabies are going to love it.
Awesome, Sally. Thanks so much.
Thank you for the pattern AND the detailed instructions. I´ve been following you since “From concept to construction” were blog posts and had to wait four years until there was a worldwide shipping site who would be willing to ship the book to my country. I have bought my fist sewing machine last month and I’m delighted. THANK YOU, for everything!
You’re welcome, Lola.
Thank you for this precious apple! My great-granddaughter Twins 2 year olds will love one each! Reminds me of Happy Apple my son (their grandfather 50 years old!!) received fir his 1st birthday. It is heavy plastic and rocks on curved bottom with music playing inside. I still have it and now three generations have played with it. Girls are going to love their soft touch Happy Apples just like Grandpas!! Thank you for all you do….so impressive.
You’re very welcome, Dawn!
Thank You for the free pattern. I need to make a few for the school age grandsons and my teacher friends.
This is so darling. I love it!
Another lovely design. My little granddaughter will love this – if I can find the fabric.
Softie fabric is hard to find in my part of the world, never mind the lovely colours you use.
Any suggestions for a supplier?
I’m not sure where you’re located, but Fabric.com carries fleece. I linked to the colors I used in the supplies list on the post.
I have only just seen the app and blog and am waiting for my free pattern, it’s a lovely idea to put a rattle inside, I have all so thought to make it smaller with catnip inside so the cats have one to play with, I see how easy it is to make.
I’ll keep in touch to let you know how it goes.
Thank you for the pattern.
.
Hi! Two questions. One – can I use comfort flannel for this project or is that not stretchy enough?
Two – I am making this for a math teacher who will be teaching different functions, and I was hoping to put wire in the arms to make them bendable (so she can make the apple hold up the function on the day she teachers them – think x² and the arms up!) any suggestions for the type of wire/how do affix it? Thanks!
You could use flannel, but I think I would line it with interfacing first so it doesn’t fray when you stuff it. I would recommend pipecleaners for wire. Just loop them for the tips of the limbs so they don’t poke through.