Editor's Note: This series of posts became a book!
Stuffed Animals: From Concept to Construction was published by Lark Crafts in 2013.
+++++
Today let's focus on openings. Most soft toys are sewn right sides together and are then turned right side out before being stuffed. In order to turn a softie, you need to leave an opening so that you can pull the fabric through when turning it right side out and then push the fiberfill or wool stuffing in.
The tricky thing about these openings is that you don't want them to show once the toy is finished. The opening needs to somehow become invisible. But if the toy is machine sewn, and the opening is closed by hand, the seam is bound to stand out some.
The question is, how can we create an opening and close it up in the least noticable way? The way I see it, there are a few important factors to consider.
When designing pattern pieces think carefully before choosing where the opening should be. Usually an opening is located along a seam. If this is the case, choose a spot along the seam where the the opening will be the least noticable.

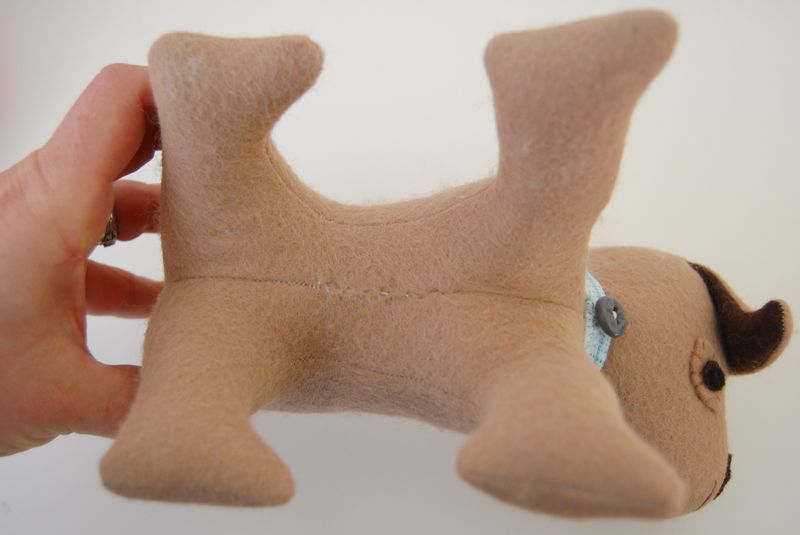
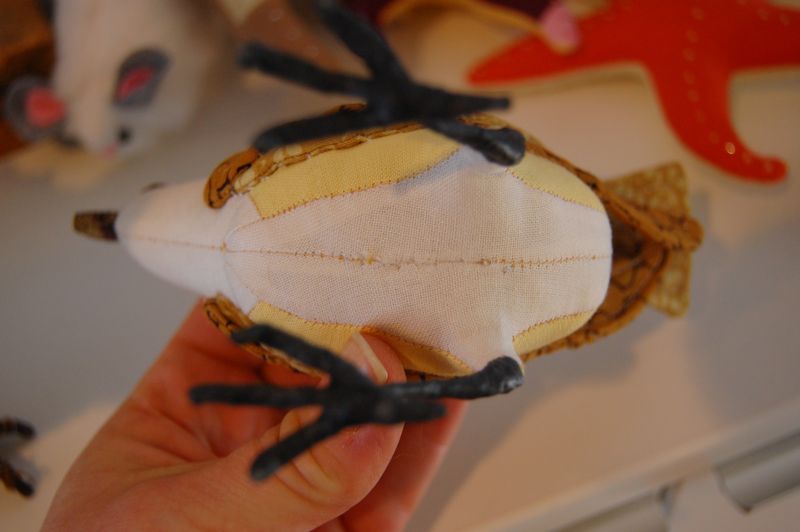
For example, in a fully gusseted four-legged animal I often leave the opening between the two undergussets. Once the animal is put together the opening is on the underside of the toy, a part that is not immediately noticable. Between the undergussets is also a great spot because it is centrally located so I can pull the legs and head into the body with relative ease when I'm turning the body right side out.
Here is a dog I made recently. I desinged this pattern so that the opening is between the undergussets:
All of my birds are made this way:
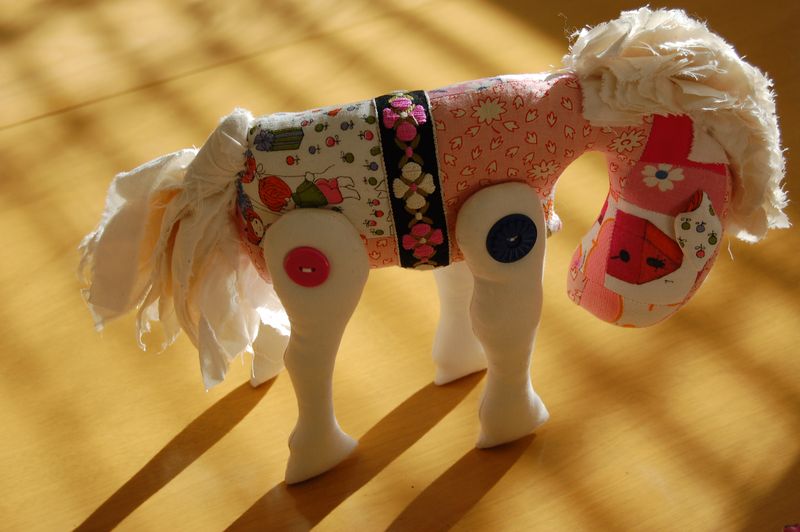
Another good spot to locate an opening on a four-legged animal is where the tail will be. After the toy is stuffed, attach the tail over the area where the opening was, hiding it underneath.
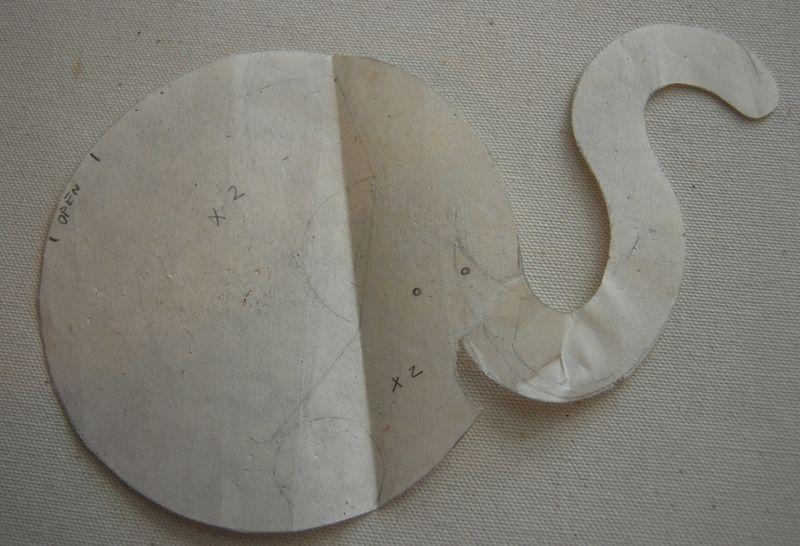
I drew this elephant so that the opening is located where the tail will be:
The opening in this patchwork horse is under the tail:
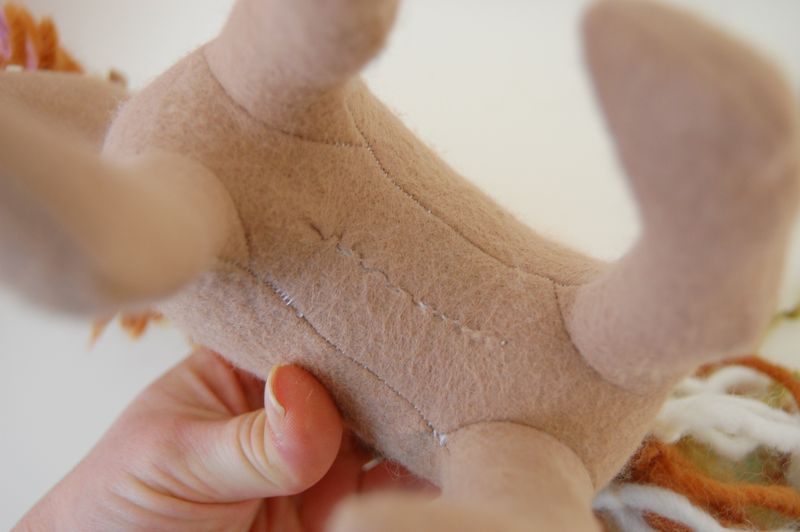
A third option is to not leave an opening on a seam at all, but instead to snip an opening in the middle of one of the pattern pieces.
This felt horse horse has a single undergusset with separate legs attached. I cut a slit in the undergusset and used that as the opening:
Once you've sewn up the toy, it is time to use the opening for turning and stuffing. Be sure that you take a few backstitches on either side of the opening so that it does not tear when it becomes stressed during turning and stuffing. And be gentle! The opening can become stretched, even if you are using quilting cotton, felt or another fabric that has little to no stretch to it. The fibers in the fabric can pull apart during turning and stuffing making it harder to close the opening neatly later. So go slowly and take your time.
I like to put the toy down after sewing it and come back later for turning and stuffing so that I'm not impatient and in a hurry. Stuffing a toy is often the most time consuming part of the whole process.
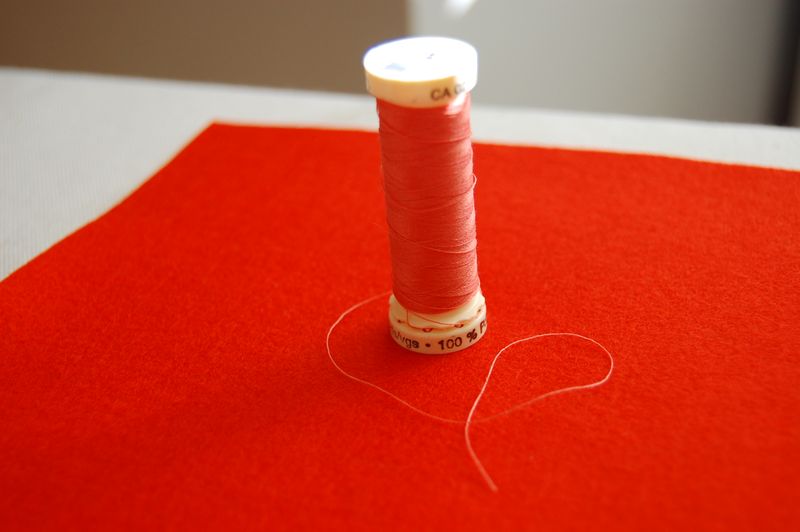
Now that you've chosen a good spot for the opening, it is time to think about how to close it up once the the toy is turned and stuffed. Again, we are aiming for invisibility here. Obviously, choose a thread color that matches the fabric. Remember when choosing thread colors to err on the side of a thread that is a shade lighter than the fabric, versus one that is a shade darker. The lighter thread is less likely to show.
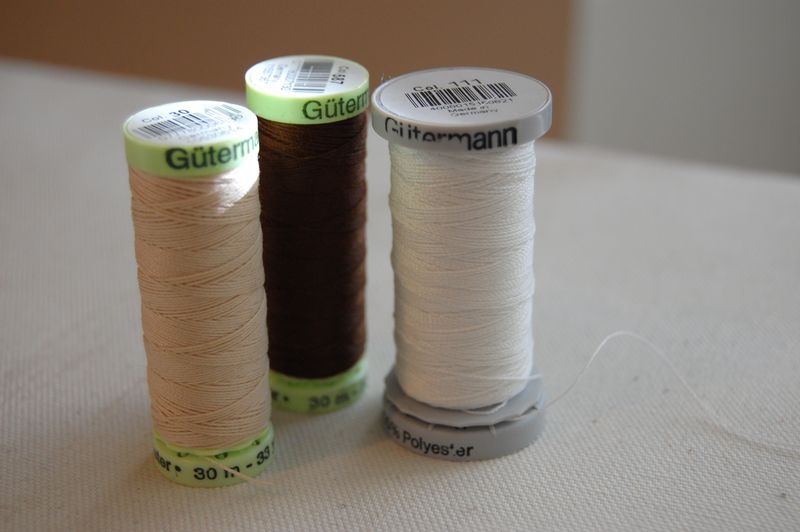
And while we are on the topic of thread, there is nothing worse than carefully and neatly sewing an opening closed only to have the thread break on the last stitch! To solve this problem, I sew openings closed with extra-strong thread. It is a worthy investment to buy extra-strong thread in a variety of colors so that you'll have some on hand in a color that works for your softie.
I often see beautifully constructed softies that have been closed with an overhand stitch which to me looks sloppy.

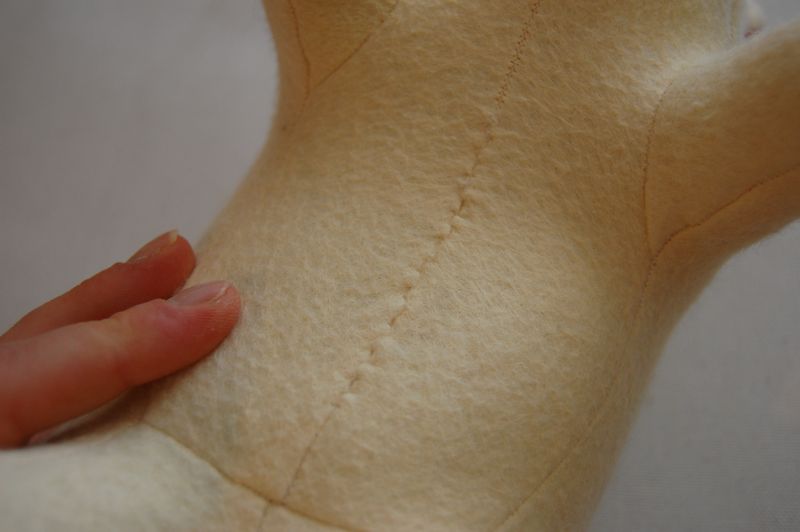
Unless you are intentionally creating visible stiches, I would instead recommend using a small ladder stitch. When done very neatly, ladder stitches are nearly invisible.
Here are two sofites, a pig and a fish, that I have closed with ladder stitch:

Watch this short video by StitchLab for a great demonstration of how to use ladder stitch to close an opening.
Okay, what other information can we add? I welcome your thoughts. Do you have any special tips or techniques for the best way to handle openings? Please chime in!

this is the most awesome series! I think I could read for weeks and weeks just about gussets alone. I can’t wait to read all you have to say!
You rock, Meg! So glad other people think gussets are cool.
Thanks for the instruction in attention to detail. It does really make the difference between a professional product and a sloppy craft.
Wow, what a great series! I love that last step of sewing up the opening, even though it can be tedious it is so satisfying to see your character DONE! I used to leave kinda long openings because I was nervous about tearing during stuffing. But now I like to leave a small one, just big enough to stuff through. It’s less to sew in the end and helps with the whole invisibility thing.
I’d love to hear your thoughts on eyes. So far I’ve only done felt applique for this feature 🙂
Thanks!
I’ve found that when closing openings if you go back over the ladder stitch another time, going just a tiny bit beyond the edges, it makes for an even more invisible stitch…something taught me by my son’s Dutch Waldorf teacher many years ago.
Thank you so much, i’ve read each letter of this post!!!!!!
thank you so much for this valuable series — I will be reading and studying and staying with you the whole time. Something I’m always doing is making my openings too small, making it impossible to turn the item right-side-right and hard to stuff
Barbara Willis, a doll designer, once showed us in class a trick with openings. Before stuffing it, fold back the seam allowance at the opening and finger crease it. That way, once you’re finished stuffing it’ll be easier to stitch along the correct line. This works for cottons, not sure if it’ll help at all with felts.
You can even iron the folded back seam allowance with a some steam to make it hold it’s crease, or baste it for fabrics that are hard to iron. This will make for a neater closure for sure. Thank you!
I’ve never heard that before! I will try it on my next project. Thank you!
I tend to do the same thing. I have, from time to time, gone a bit too far and had to unpick some backstitches to make the opening large enough while trying to turn. Generally, though, I like a small opening.
Hi, thanks for all of the great tips! I like to make cloth dolls and I know your suggestions will work well in that area. I have to say that I love your bird website. The Mixed Media section is my favorite. And the Dark Owl is my favorite of your owls. I hope to get your book one day soon.
I like to go back over the ladder stitch, but stitching on the opposite sides of where you worked before. (If the stitch is on the left, make one on the right) That pretty much eliminates any of the zig-zag pulling on the fabric & makes it almost identical to machine stitches.
Can’t wait to see the future posts!
What a great tip. Tiffany. Thank you! I totally have the zig-zag thing going on my goldfish. I will try going back over my ladder stitches and see if I can make that go away.
I am one that always used a whipstitch to close my openings, but no more. Thanks
Thank you for this guide to making softies. It is so helpful – both in supplying new tips, but also giving me the confidence that I have been on the “right track” in some instances.
The video was especially helpful, not only in showing the ladder stitch, but how to make it neat, and mostly, how to tie off at the end!! It had all been guesswork up until now – but now I know I am basically doing it the right way. And I also know how to make it cleaner.
Righto! Off to the next chapter!!
Keep up the fantastic work!
This is so awesome! Thanks!!
I’ve been busy making Scrap Monsters and this is just what I needed to move into something a bit more finished looking. Thanks!
I so appreciate you taking the time to document your and others’ knowledge on this subject. I’m a beginner, up-cycling wool sweaters by felting them and turning them into animals, etc for friends’ kids. I’m really grateful for the guidance here!
Thanks! This si exactly what I wanted to know.
I learned ladder stitch in junior high school and it was messy! Then I learned that my stitches were too long and I corrected that by turning around and sewing the opening going the other way. Then, in doing applique for quilting, I learned the importance of a small stitch to eradicate gaps. It should be the same as the stitch length you use for machine sewing. Well, in this case I handsew about 12 stitches to the inch. My eyesight isn’t good enough for 16! And finally, handsewn stitches are less visible when you start the next stitch one or two threads behind where you ended the previous stitch. I always iron the seam of the opening in before stitching because the seam is less likely to fray as you stitch and it is more accurate.
When I sew an opening closed I use a cross between a ladder stitch and blind stitch. It’s probably more of a ladder stitch really. However, I try to keep the stitches as short as possible so then they really disappear and look more like the stitching from the machine. Also tucking in thread tails is important too.
Short stitches are important. You can even go back the other way, taking a second set of stitches in between the first to really make the seam smooth.
Two suggestions: I like to sew the opening closed on the machine (just after sewing the rest of the seam), using a stitch that’s long enough to unpick really easily. Then i press it open, and then i pull out the stitches (if you use a long enough stitch, you generally only need to gently pull on the bobbin thread). This creates a neat edge, and, in many fabrics, leaves tiny holes to help you make neat even stitches. (I’m one of those that does a second line of stitching afterwards, so it doesn’t matter that the stitches are further apart.)
If you use fur fabric on any part of your toy, put the opening there – it will disappear when you brush the fibre up out of the seams (though it’s a little harder to sew the seam in the first place).
Great suggestion! Thank you. I love this.
Dear Abby, I just wanted to say a HUGE thank you. This is the most informative, well written series on a topic which no one else has done justice to. I have the book but I just LOVE going through all of it online…THANK YOU!
I am learning to hand make heirloom teddy bears and this is exactly the tutorial I was looking for as the beginner kit I bought recommended a ladder stitch for closing up my bear. Thank you so much for taking the time to share your knowledge! xo
You’re welcome!