whileshenaps.com

Sewing, blogging, and creative business.

  • About
    • About Abby
  • Sewing
    • Abby Glassenberg Design Patterns
    • Free Patterns
    • Softie Sewing Tutorials
    • Softie Design Tutorials
    • Stuffed Animals (the book)
    • The Artful Bird
    • Featured Soft Toy Designers
    • Fostering Your Creativity
      • The Pattern That Changed My Life
    • Kid’s Crafts
    • Selling Your Handmade Softies
    • Sew-a-Longs
    • Studio Updates
    • Teaching
  • Blogging
    • Blog Design and Organization
    • Building Great Email Newsletters
    • How to Write a Great Blog Post
    • Increasing Your Traffic
    • Monetizing Your Blog
  • Business
    • Being Self-Employed
    • Legal and Financial Issues
    • Getting Published
      • Traditional Print Publishing
      • Self-Publishing
        • Patterns
      • Book Reviews
    • Online Culture of Craft
    • Ecommerce and Etsy
    • Marketing
    • Customer Service
  • The Podcast
    • Episodes
    • How to make a podcast
    • Podcast Recommendations
  • Shop
    • Ebooks
    • Digital Patterns
    • Print Patterns and Kits
    • Specialty Supplies
  • Courses
    • Email Marketing for Crafters
    • Learn to Sew Puzzle Ball Animals
  • Cart
    • My Account
    • Checkout

How to Attach Softie Parts By Machine

January 23, 2015

It’s best to attach parts like ears or a tail to your softies by machine, versus by hand, especially if you’ll be giving the toy to a young child. Machine sewn seams are strong which means that the parts are less likely to come loose over time or after several washings. And they’re perfectly even, too, which is nice.
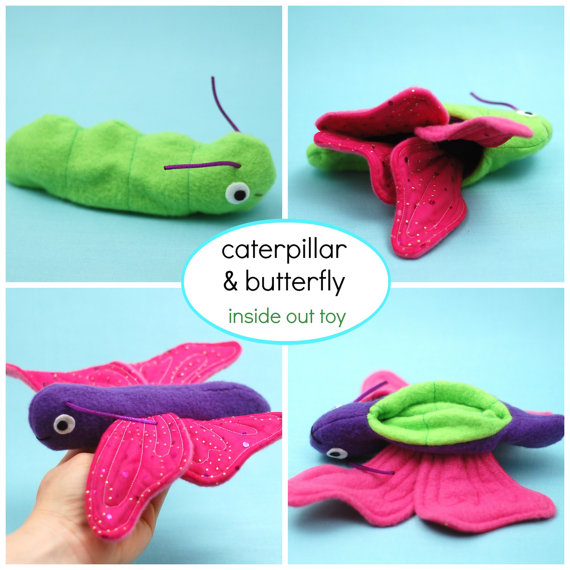
Caterpillar and ButterflyCaterpillar and Butterfly Reversible Toy

Sometimes you can easily find a good place to situate a softie part so that it can be machine sewn. Placing an ear between the side of the head and the head gusset, for example. But other times there really isn’t a seam where you need there to be one.

In that case, you can just create a seam! Make a small slit and slide the part right in. Then sew the slit closed and you’ve got a machine sewn seam.

I made this 1-minute video (with peppy music!) to show you how I do it:

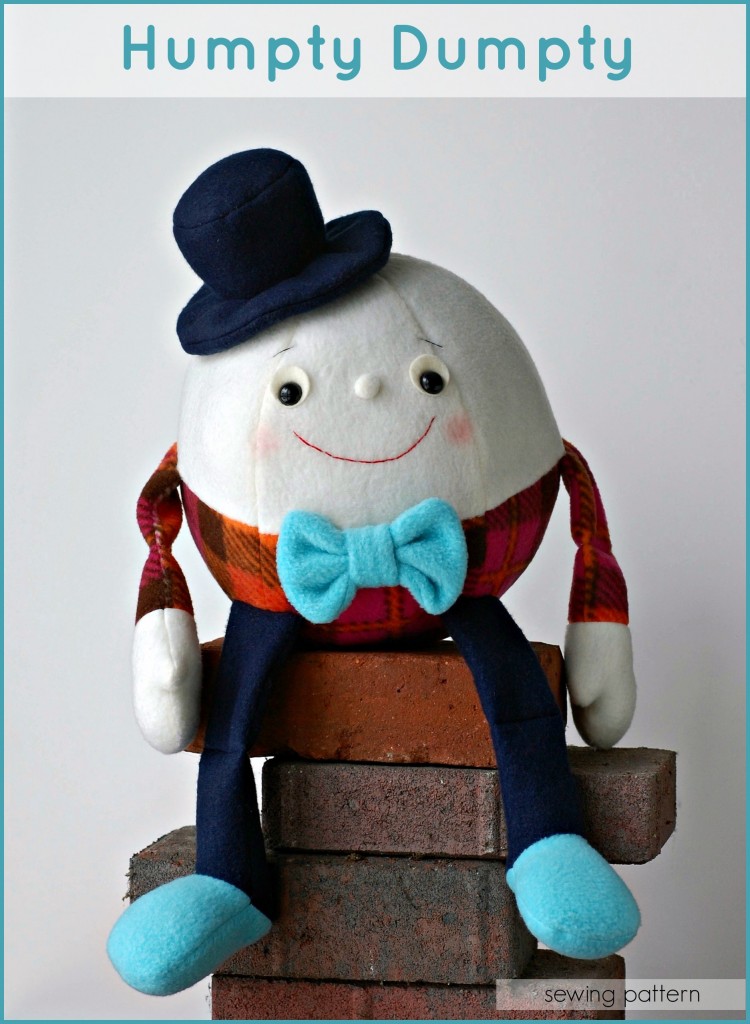
Once you give it a try a whole world of softie design possibilities will open up. I use this technique in all of the patterns shown in this post (and many more!).

Humpty Dumpty Humpty Dumpty

 I hope you enjoy using this attachment method in your own softie and doll designs.
Filed Under: Sew With Me, Softie Sewing Tutorials, Uncategorized

« Can You Nurse Your Baby at Quilt Market?: Infants at Craft Industry Trade Shows
Book Review: Fairy Tale Sewing by Heidi Boyd »

Comments

  1. Larissa says

    January 23, 2015 at 12:19 pm

    Liked the peppy music, Abby! 🙂 Very clever. I guess if you wanted to avoid the seam going beyond the attached part you could maybe hand sew it with a whip stitch? Sure is quicker by machine though. Do you find the shape remains unchanged by the seam after you stuff it? Fleece is probably more forgiving that way than a woven fabric.

    • Abby says

      January 27, 2015 at 5:22 pm

      So the slit becomes a little dart and it does change the shape slightly. You’re right that it’s mostly masked with fleece and would be more evident in a woven fabric.

  2. Amy says

    January 24, 2015 at 7:02 am

    Thank you for this video Abby!! And an awesome sewing tip – one of those that I think I should have known, but didn’t.

  3. Nadia says

    January 25, 2015 at 7:14 pm

    Thank you, Abby. I recently listened to your podcast with Vanessa Vargas Wilson and I love how you have adopted her approach for taking videos. I also love how you explain how this technique is safer for babies.

    • Abby says

      January 27, 2015 at 5:20 pm

      Thanks so much, Nadia.

  4. Anne says

    January 26, 2015 at 10:43 am

    That’s a helpful video! I’ve got a Craft Gossip post scheduled for this evening that links to your tutorial:
    http://sewing.craftgossip.com/tutorial-attach-softie-parts-with-your-sewing-machine/2015/01/26/
    –Anne

  5. Lori says

    January 28, 2015 at 10:44 am

    I am SO in love with your patterns! Your creations are so sweet with darling faces – the eyes and mouth make the doll or animal! I want to learn to sew with a machine so I can make them.

  6. Chantal says

    February 12, 2015 at 1:22 pm

    Great little tutorial. I’m currently making a cow for my boy, based on a book character. I need to do the tail, and I didn’t know where to start. Now I know. Thanks to you.

    • Abby says

      February 12, 2015 at 1:28 pm

      You’re welcome!

Trackbacks

  1. Tutorial: Attach softie parts with your sewing machine – Sewing says:
    January 26, 2015 at 7:28 pm

    […] How to Attach Softie Parts By Machine, by While She Naps […]

Welcome! I'm Abby Glassenberg and I'm glad you're here. While She Naps is a blog about designing and sewing stuffed animals and running a creative business.
email me
Facebook
Pinterest
LinkedIn

Bestselling Ebook

Join the Trade Organization

Etsy Shop

Books By Abby

Stuffed Animals Book Trailer

Categories

Archives

Copyright © 2025 · Abby Glassenberg · Design by Shay Bocks