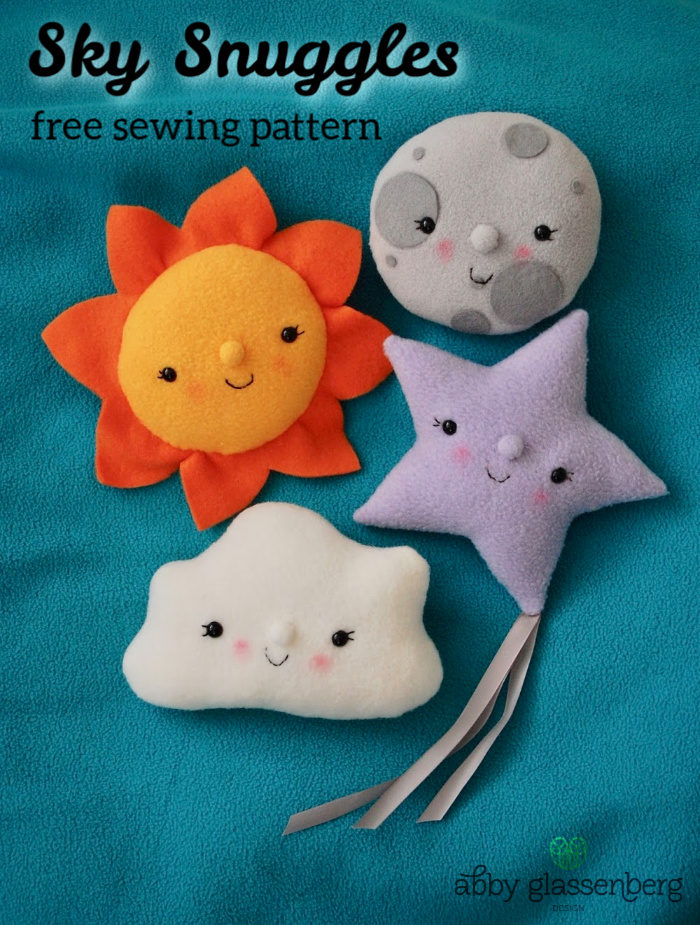
Today I have a fun free pattern to share with you. This is a set of four small plush toys with a celestial theme: a sun, moon, star, and cloud. They are sewn from scraps of fleece and felt and stuffed with bits of fiberfill stuffing. I used some 8mm safety eyes and size 8 black Perle cotton for the faces, along with a little bit of blush to add some color to their cheeks.

You could make these as rattles or squeakers (get rattle inserts and squeakers in my shop, along with the eyes you’ll need). Just insert the rattle or squeaker while you’re stuffing the toy. Or, try making them as bean bags by filling them with poly pellets instead of fiberfill. They would be . a sweet gift at a baby shower.
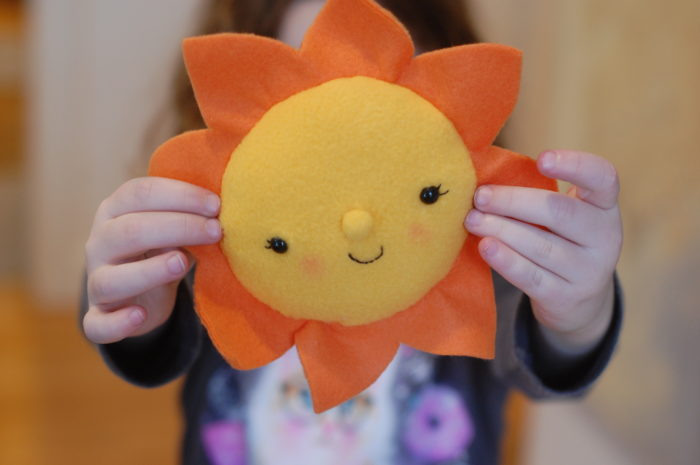
Another idea is to use fishing line to string them to the outer ring of an embroidery hoop to make a mobile. Just remember, be careful giving anything that could be a choking hazard to a baby or child under the age of three.
To make each Sky Snuggle you’ll need:
- 2 8″ x 8″ scraps of fleece for the body of the toy
- 1 pair of 8mm safety eyes (get them right here)
- black Perle cotton in size 8 or black embroidery floss
- fiberfill stuffing
- blush
- coordinating all-purpose thread
- For the moon you’ll need an 8″ x 8″ scrap of felt; for the sun you’ll need a 10″ x 10″ scrap of orange fleece; for the star you’ll need 24″ of 1/2″ satin ribbon
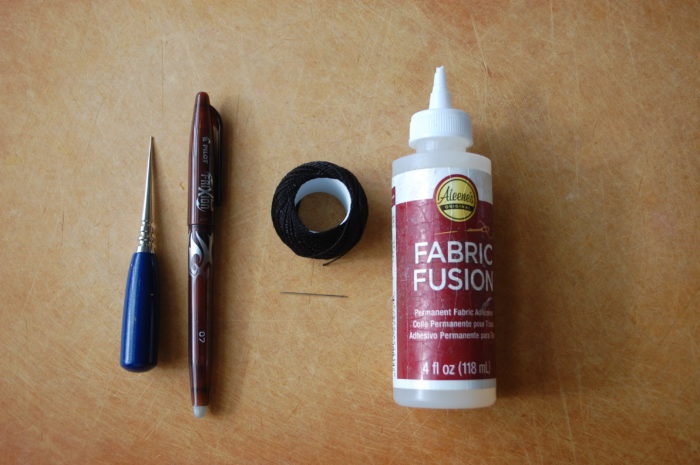
Tools:
- disappearing fabric marker
- embroidery needle
- awl or small pair of scissors
- fabric glue
Download the templates for the pattern, print and cut them out.
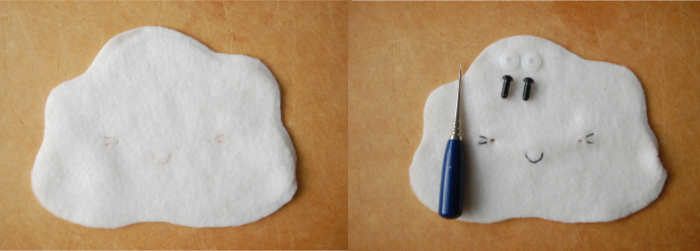
To make the cloud, cut 1 cloud piece from white fleece. Flip the template over and cut a second one. Transfer the markings to the fabric using a disappearing fabric pen.
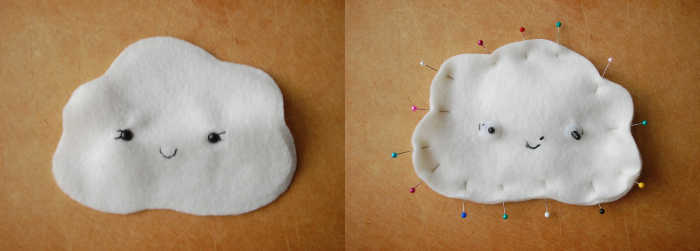
Thread an embroidery needle with a length of black Perle cotton. Take two running stitches to create each eyelash. Use backstitch to create the mouth. Tie off on the back with a double knot.
Use an awl or the point of a pair of small scissors to make a hole for each eye. Insert the safety eyes, securing with washers on the back. (Here’s my tutorial on how to insert safety eyes.)
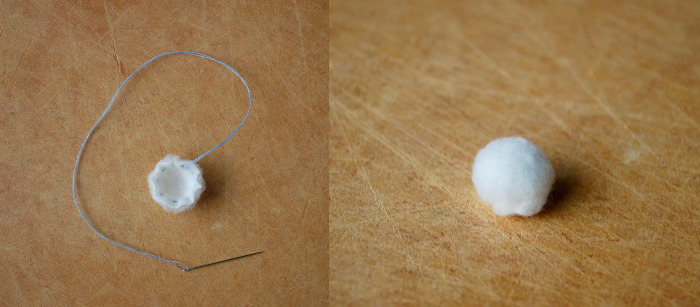
Cut one nose from white fleece. Thread a needle with a double length of thread and tie a knot in the end. Take a running stitch along the inside of the nose, close to the edge. Pull the stitches, adding a bit of stuffing to fill out the nose before closing it. Tie a double knot to secure.
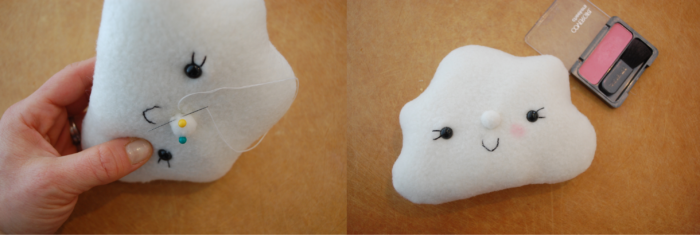
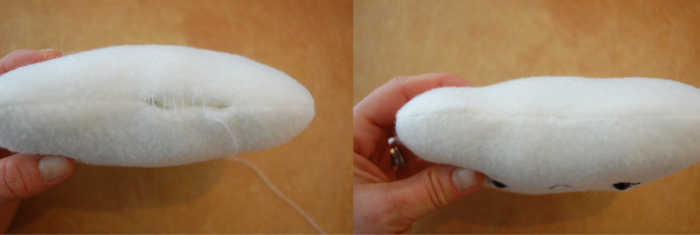
Place the two cloud pieces right sides together. Pin, then stitch around, leaving the opening as marked. Clip the curves and turn right side out. Stuff. Close the opening with ladder stitch (here’s my tutorial on how to ladder stitch). Ladder stitch the nose in place. Blush the cheeks.
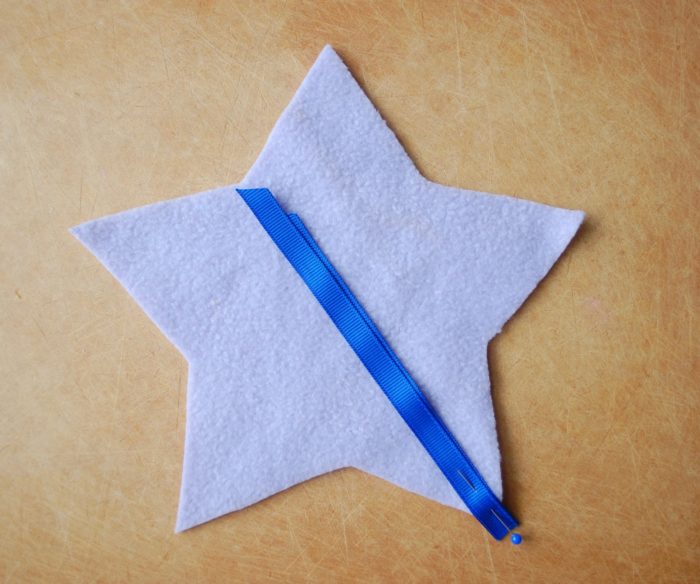
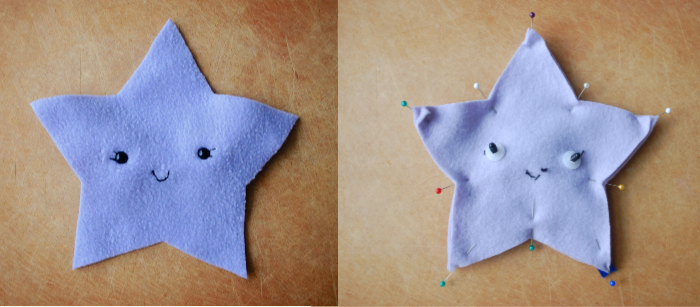
To make the star, follow the same process as the cloud except adding the ribbon in the bottom corner. Cut the ribbon into thirds. Lay all three piece, together, on the bottom right point of the star. Pin in place. When you sew the star together the edges of the ribbon will be caught in the seam.
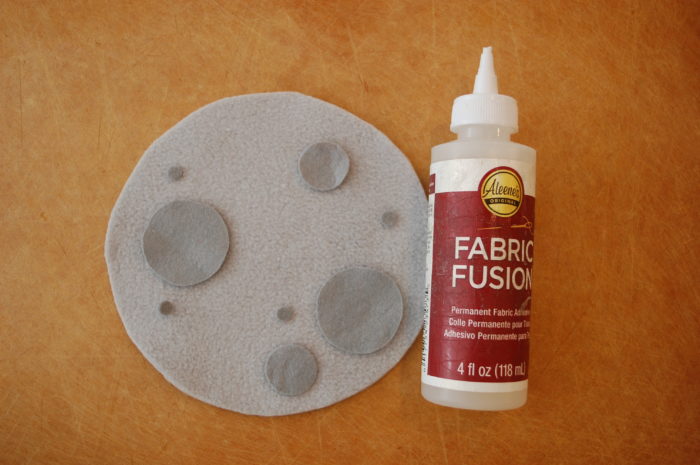
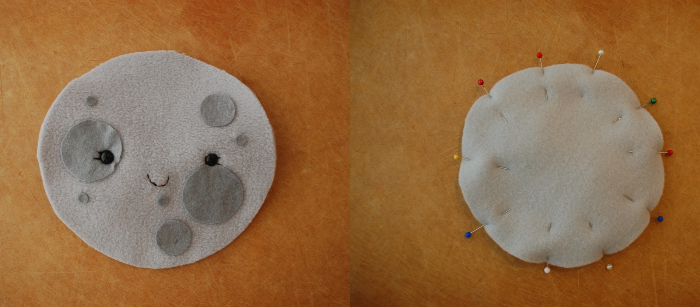
To make the moon, cut two large craters, two medium craters, and four small craters from felt. Use a thin coat of fabric glue (such as Aleene’s Fabric Fusion affiliate link) to glue the craters at random on the face. Let dry completely. Create the face and sew the moon together just like the cloud.
To make the sun, cut two faces along the dotted line (rather than the solid line) on the template. Embroider the face and attach the safety eyes as you did with the cloud. Cut one sun rays piece from orange fleece.

Align the circular edge of the rays piece with the edge of one face piece, right sides together, and pin every 1/2″. Place the second face piece on top, right sides together, making a sandwich with the rays inside. Pin, then stitch around, catching the edges of the rays piece in the seam. Clip the curves. Turn right side out, stuff, and close the opening with stab stitches going through all three layers.

You did it! Give your Sky Snuggles hugs. Tag me on Instagram and show me your project!
Thank you so much for these adorable patterns. So sweet for a variety of things!
Thank you for sharing your baby and toddler tutorials and patterns. I enjoy making them and giving many as gifts.
So cute! Great gift idea.
these are really cute. I wil make some for my 3.5 year old grand daughter
Awesome!
These are really cute. Great gift idea for children
Thank you!
Abby, these are adorable! I’m looking forward to making these (lots of babies due in 2019!). One question – do you think using wool felt for the bodies would work in lieu of fleece?
Sure, that would work!
Thanks!
These plush toys look so adorable!
Thank you for sharing this patter set. These made quick soft toys for a long car trip.
Awesome! I’m so glad you like them 🙂
Loved your article today. I think I will give it a try.
Looking forward to trying this! Abby – what do you mean by ‘clip the curves’ on the cloud pattern? (I am a sewing novice!)
That means making small snips in the seam allowance along the curved areas so that it can spread out when you turn it right side out.