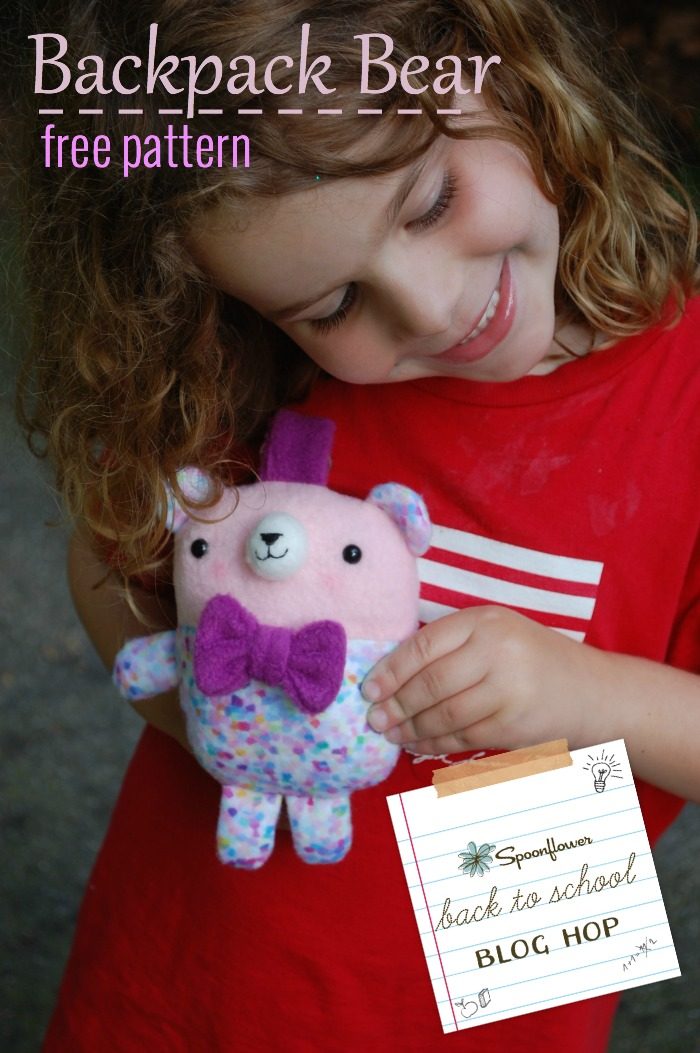
School is starting in just a few weeks here in Boston and my kids are starting to feel the nervous excitement that beginning a new school year brings. I’ll have a first grade, a sixth grader, and an eighth grader this year.
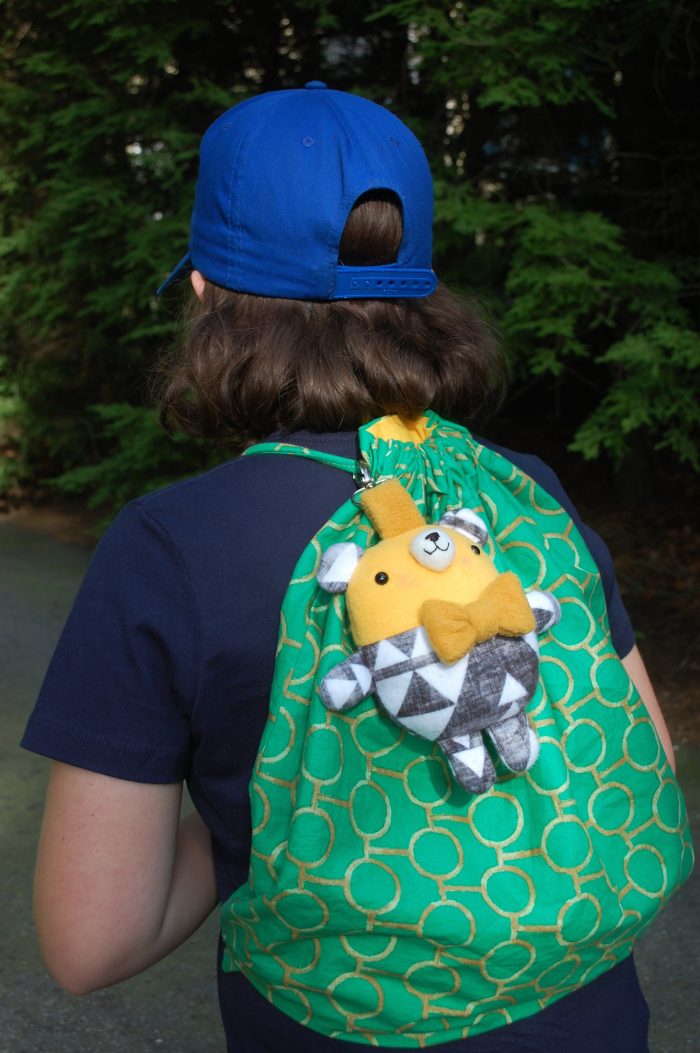
Back-to-school shopping is fun, but kids also like to customize their belongings as a way of expressing themselves. Today, as part of the Spoonflower Back-to-School blog hop, I have a free tutorial for a cute plush keychain that kids (and their grown-ups) can sew to customize a backpack.
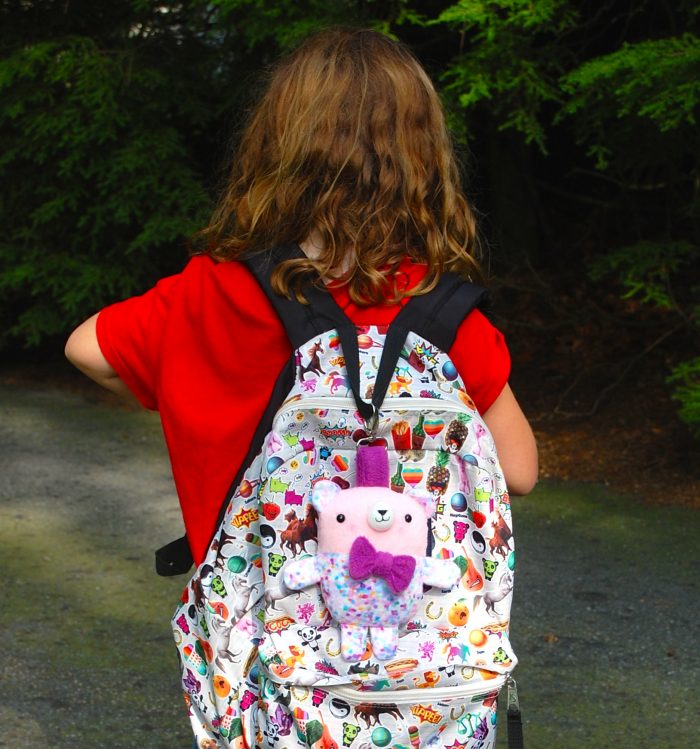
I’m calling this guy Backpack Bear and you can sew him up in an hour or two. I used Spoonflower fleece for the prints on these bears. The great thing about ordering fleece from Spoonflower is that there are so many great small-scale prints available in their designer marketplace. In typical fabric stores it’s virtually impossible to find fleece with small-scale prints, but those are what look best on softies and dolls. Spoonflower is the answer!
Spoonflower is offering a 10% discount to my readers! Use the code Abby10 now through September 30 for orders of fabric, wallpaper and gift wrap (this is a one time use code and can’t be combined with any other promotional offers).
Finished bear is approximately 6” tall (excluding the tab and keychain).
To make a Backpack Bear you’ll need:
- 1/4 yard of Spoonflower fleece (I used this print for the pink bear and this one for the gold bear)
- scraps of fleece in 3 other colors for the face, nose, and bowtie plus loop
- embroidery floss for the nose
- pair of 8mm black safety eyes
- swivel clasp (affiliate link)
- fiberfill stuffing
- optional: blush
Download and print the Backpack Bear template. Note that the arrows on template indicate the grainline of the fleece – line them up parallel with the selvedge when cutting.
From Spoonflower fleece cut 2 lower bodies, 8 limbs, and 4 ears. From fleece scraps cut two upper bodies. From another color of fleece scrap cut one nose. From the third color of fleece scrap cut two bow ties, two cross ties, and two loops.
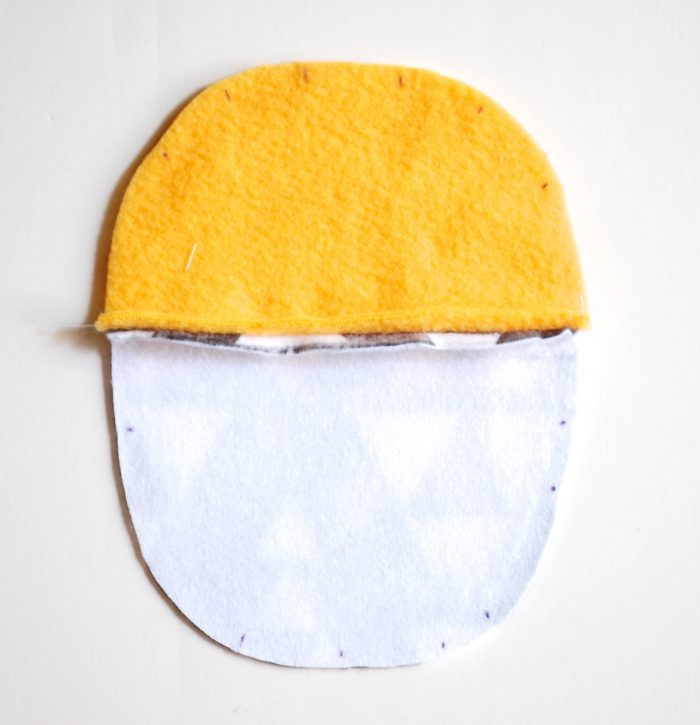
Place an upper body on a lower body right sides together lining up the straight edge. Stitch. Repeat with the other upper and lower bodies. With the tip of a pair of small scissors poke holes for the eyes in one upper body. Insert the safety eyes and secure with washers (here’s how).
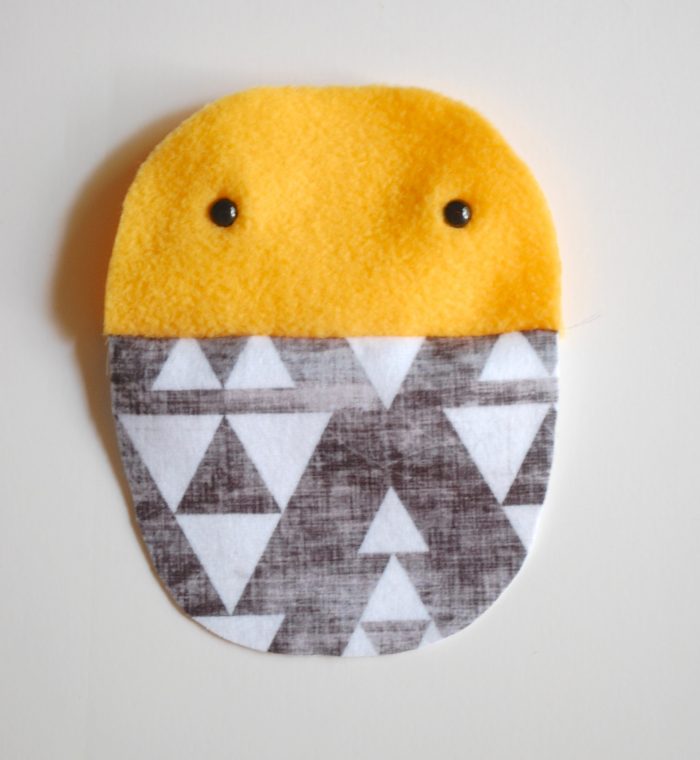
Place two ear pieces right sides together and stitch around, leaving the straight edge open. Clip the curves and turn the ears right side out. Repeat for the other two ear pieces. Place on the assembled upper/lower body piece aligning the raw edges and baste.

Place two limb pieces right sides together and stitch around, leaving the straight edge open. Clip the curves and turn the limb right side out. Repeat for the other limbs. Stuff each limb lightly. Place on the assembled upper/lower body piece aligning the raw edges and baste.

Place the two loop pieces right sides together and stitch around leaving the two short edges open. Turn right side out. Slide the swivel clasp over, then fold over into a loop. Place on the assembled upper/lower body piece aligning the raw edges and baste.
Place the body pieces right sides together. Stitch around leaving the opening as marked. Clip the curves and turn the body right side out. Stuff firmly. Close the opening with ladder stitch (here’s how).
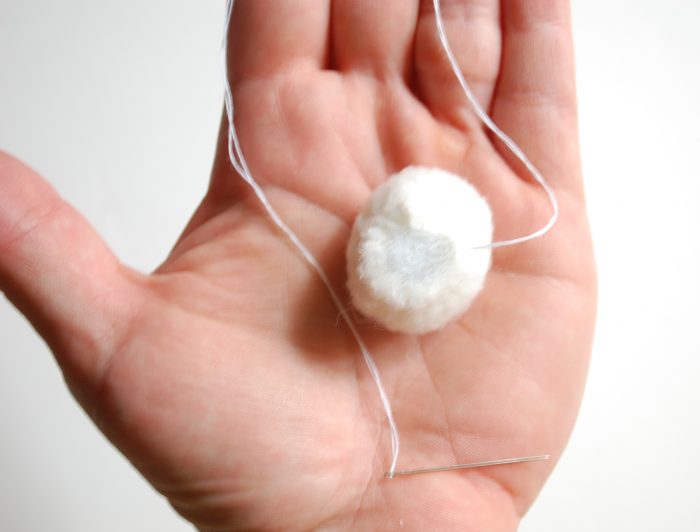
On the wrong side of the nose piece take a running stitch all the way around, then pull to gather. Stuff the nose, then pull the stitches to close and tie off. Thread an embroidery needle with a length of floss and use satin stitch to embroider the nose and back stitch to embroider the mouth. Ladder stitch the nose to the face going around twice to be sure the stitches are secure. Optional: blush the cheeks by rubbing your finger in some blush and then rubbing it onto the cheeks just below the eyes.
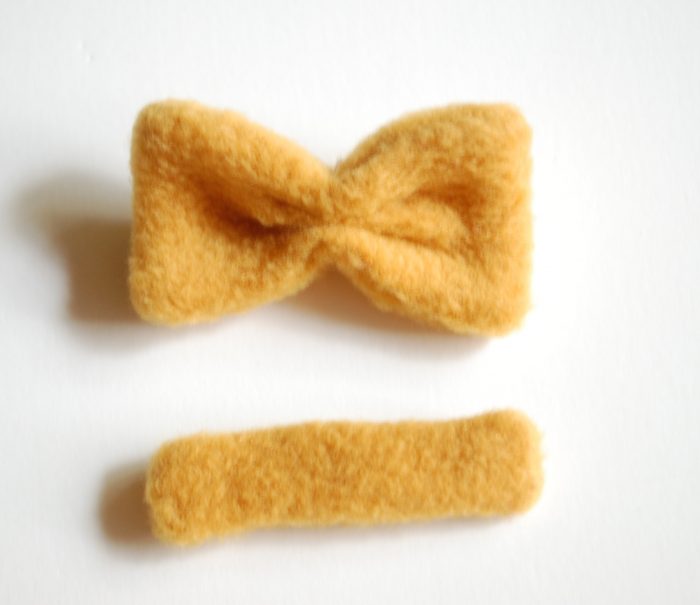
Place the two bow tie pieces right sides together and stitch around, leaving a small opening. Clip the corners and turn the bow tie right side out. Close the opening with ladder stitch. Repeat for the cross tie. Pinch the bow tie in the center and baste. Wrap the cross tie around the center of the bow tie and take a few stitches at the back to secure. Ladder stitch the bow tie to the bear.
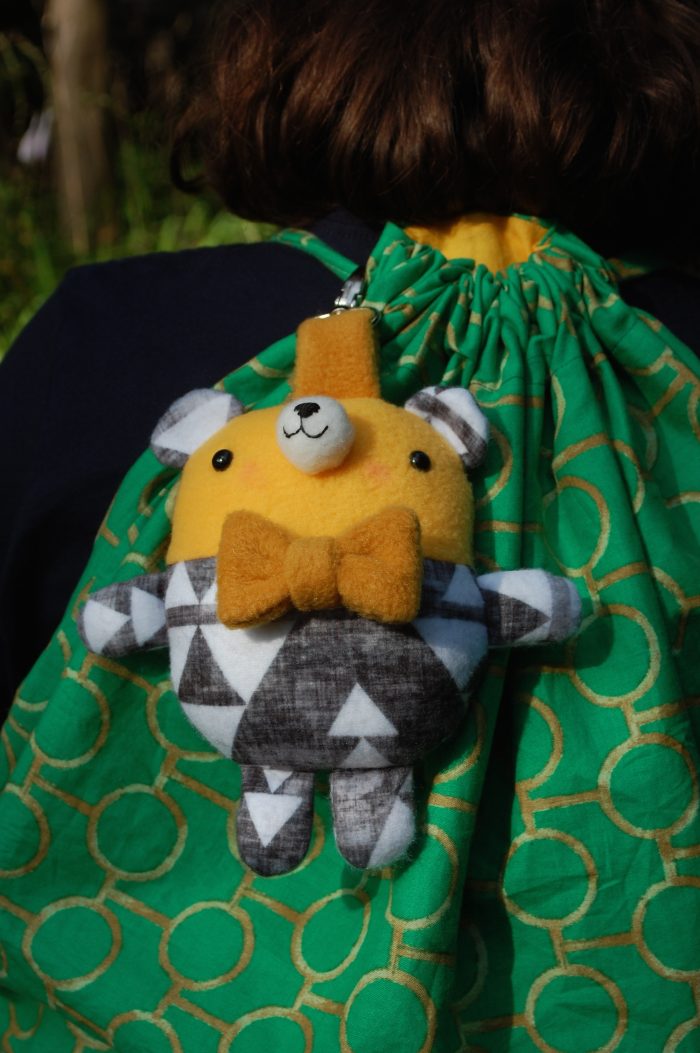
Hook your Backpack Bear to your bag and show off your style! Back to school will be a breeze with this little guy at your side and if you do get nervous on your first day, give him a quick hug!
Remember to use the coupon code Abby10 now through September 30 for orders of fabric, wallpaper and gift wrap from Spoonflower (this is a one time use code and can’t be combined with any other promotional offers).
Thanks so much, Abby, for such a sweet little bear!
Looks really cute! Thanks for this I’m planning to use a unicorn instead of bear for my daughter. I hope I can make it cute too!
Sounds adorable!
Linda peça! Amei! Obrigada pelo tutorial e os moldes. Felicidades!